Step 3: Open "Tutorial PLC project" with Beremiz IDE
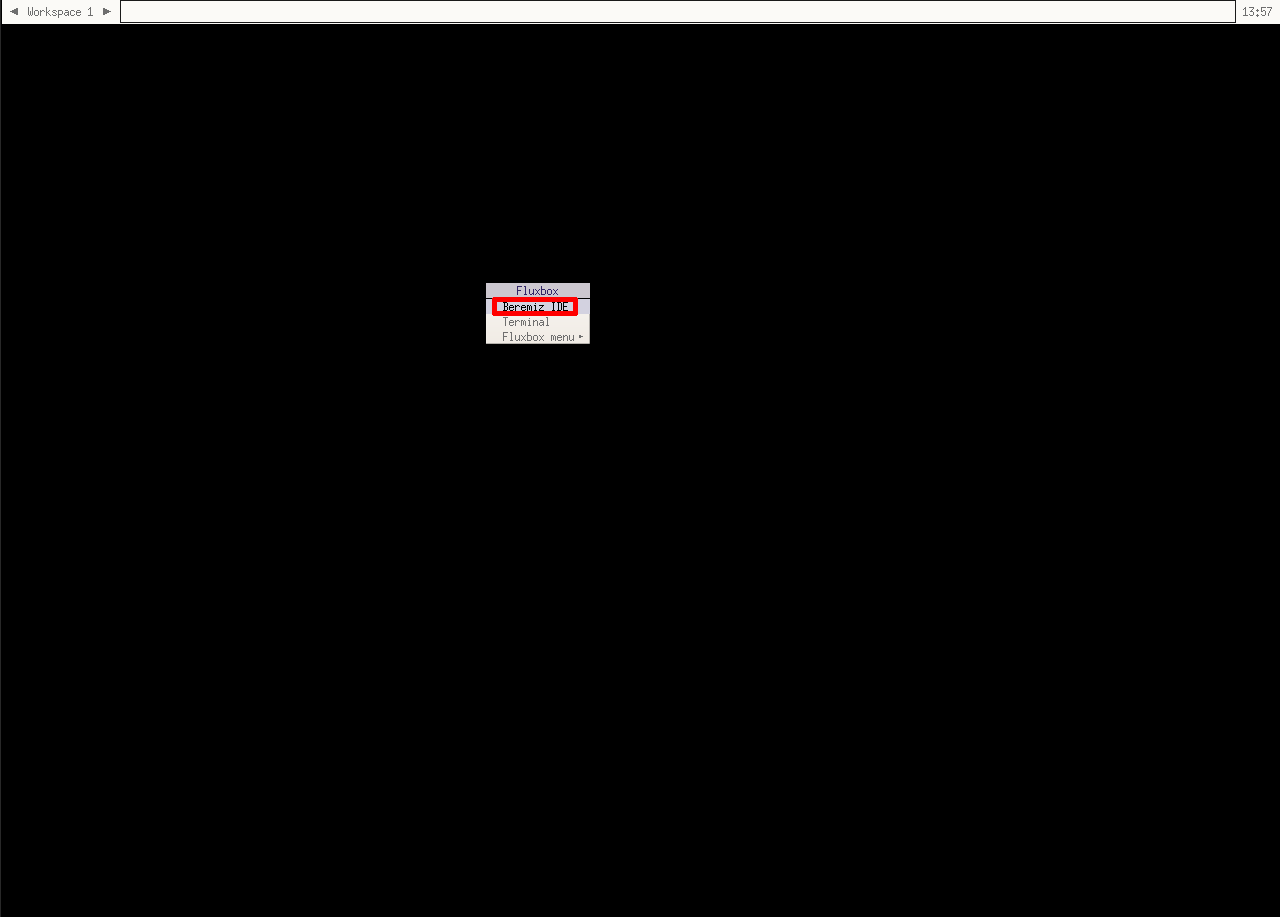
The very first step is to access Beremiz IDE's VNC session inside your browser and start "Beremiz IDE"
Step 4: Opening PLC projects
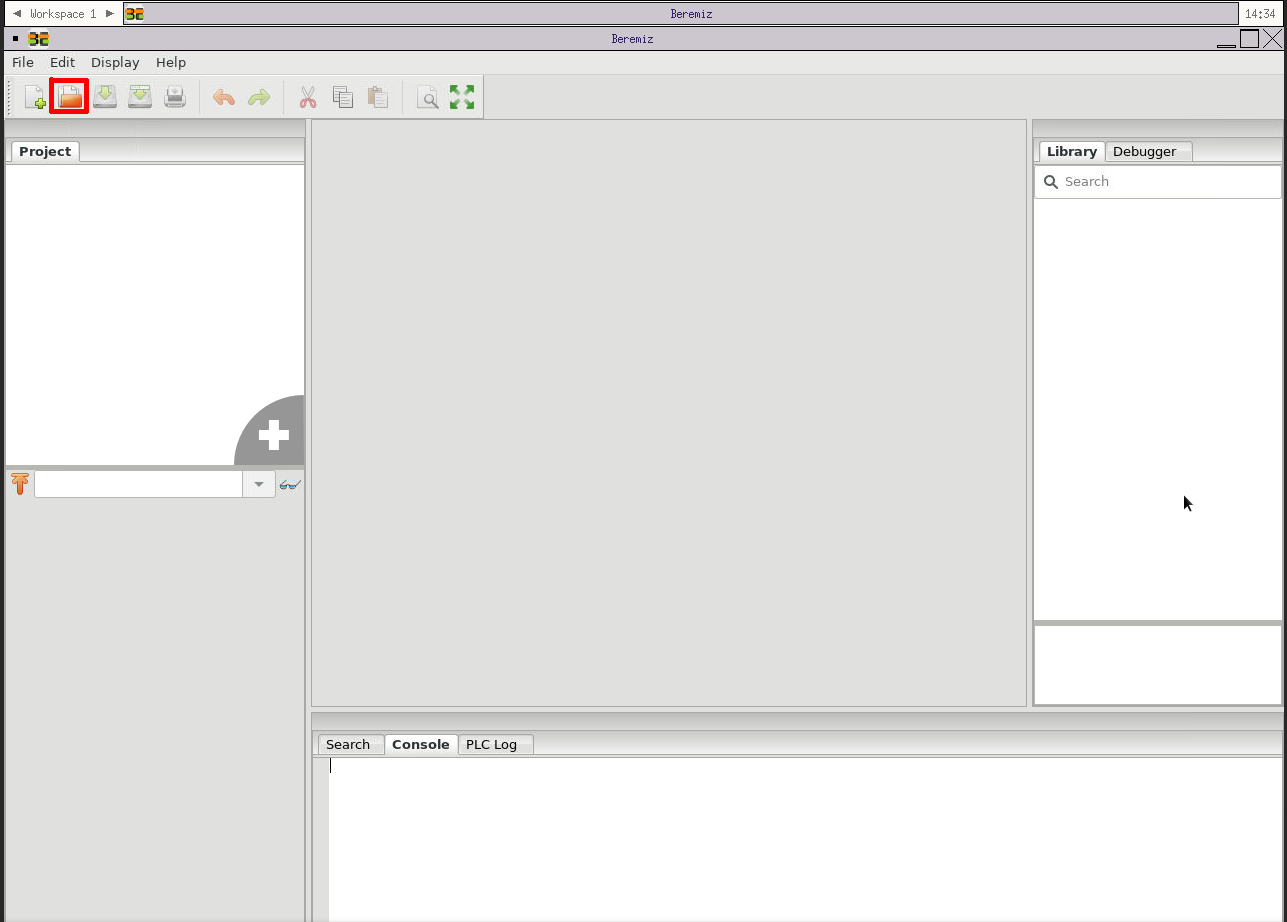
Once "Beremiz IDE" is started you can click on "Open" button so you can open previously checkout PLC projects from local file system.
Step 5: Opening the project (cont.)
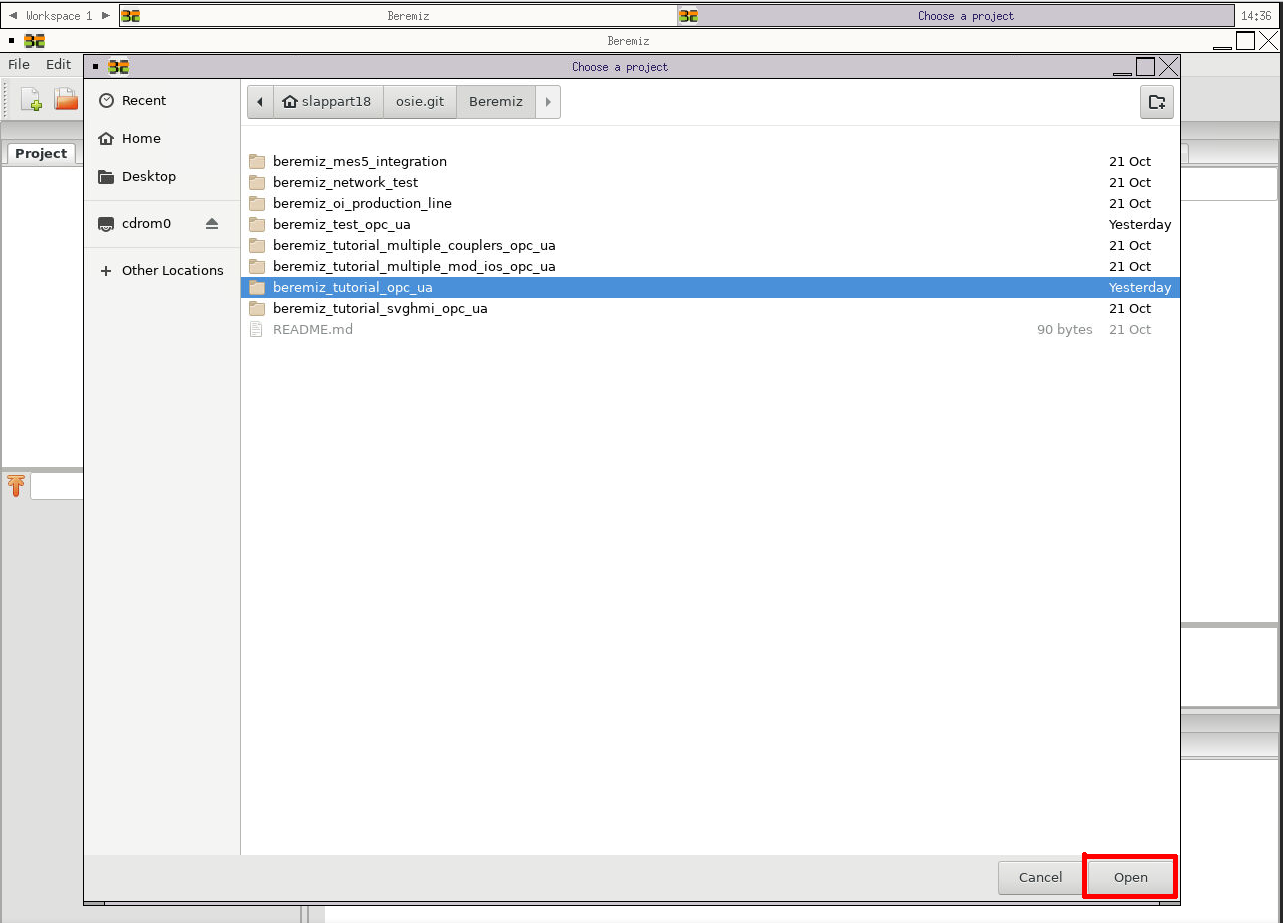
Select the highlighted project from locally checkout OSIE's repository location (tutorial_beremiz_opc_ua) from dialog. Click on "Open" button.
Configure your first PLC example program for your rPLC coupler environment
This section will make sure that you can configure access for your rPLC coupler in your individual environment.
Step 1: Configuring the IPv4 address of the rPLC coupler

- The project being opened, you need to configure the IPv4 address of the OPC UA client which is running inside the rPLC coupler.
- We assume that the coupler is in the same LAN network and you can get its IPv4 address by yourself.
- To set it one needs to click on "1.x:opcua_0" tree item as shown above.
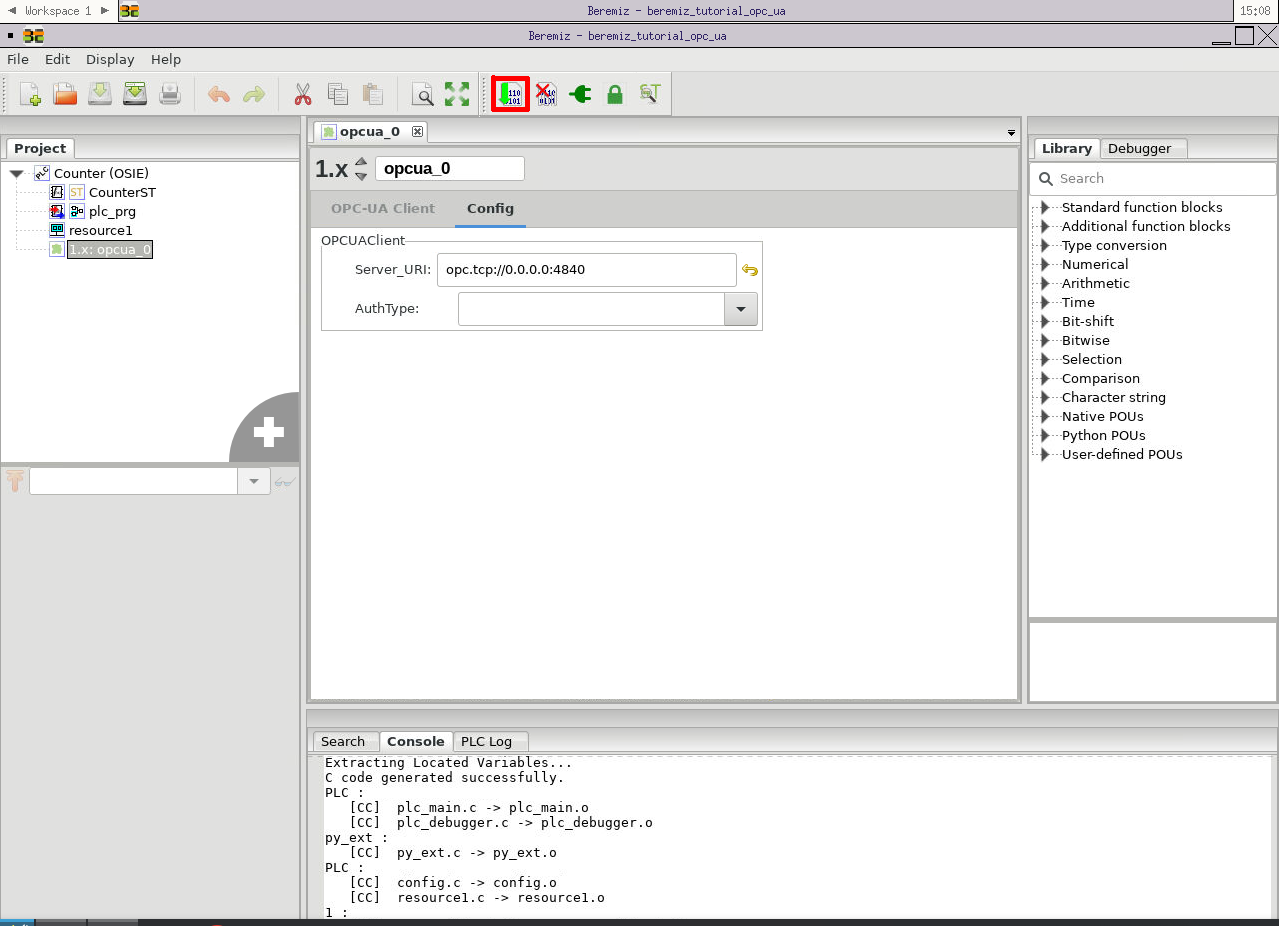
Step 2: Configuring the IPv4 address of the rPLC coupler (continued)
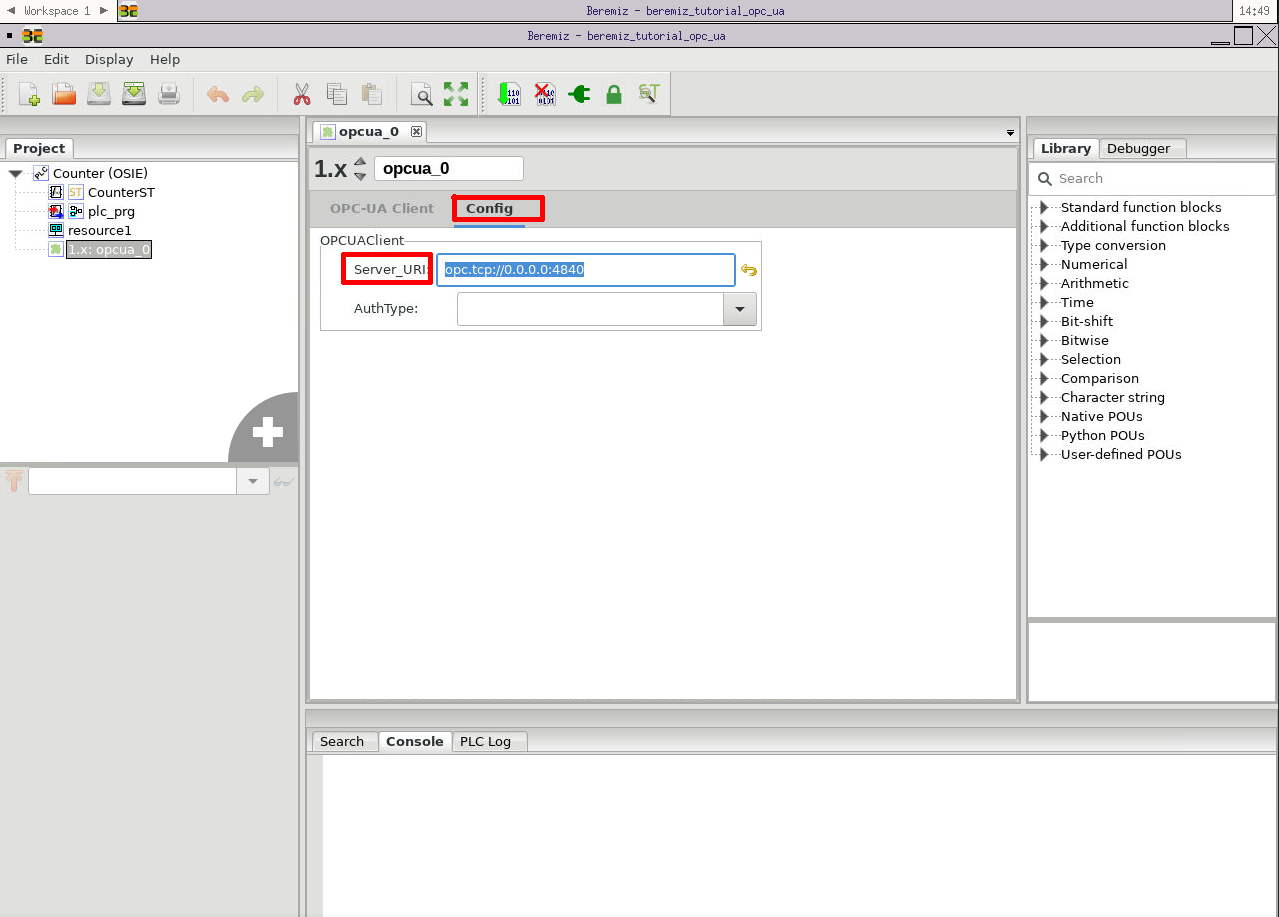
You will see the following dialog where you need to click on "Configure" tab and only after that fill in "Server URI" input with your rPLC coupler IPV4. For example it can be something like this: "opc.tcp://192.168.1.100:4840"
Build your first PLC example program
This section will show how to build you PLC program.
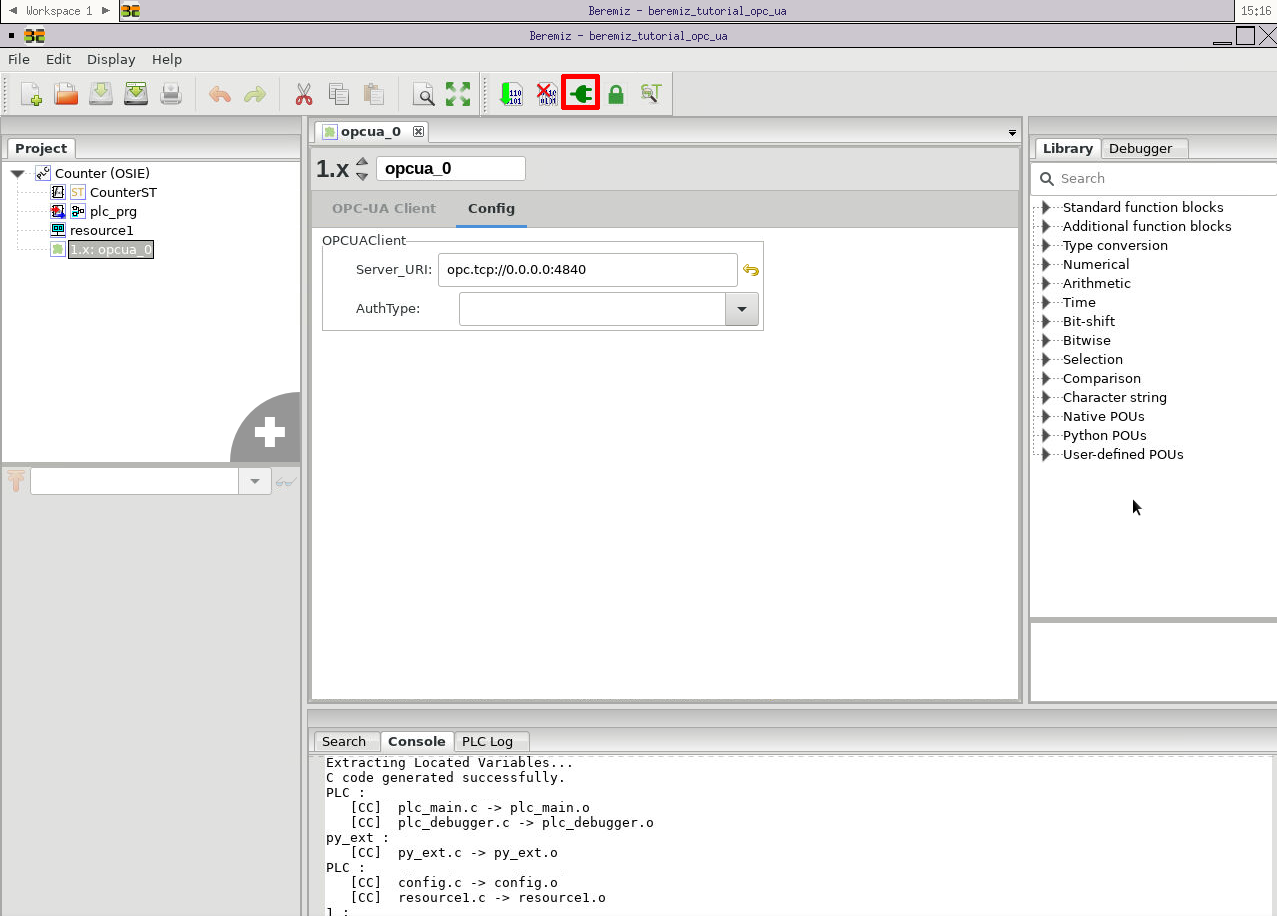
Step 1: Build your PLC program
You can click on "Build" button so you can build your PLC project as shown above.
Transfer and run your first PLC example program with your rPLC coupler
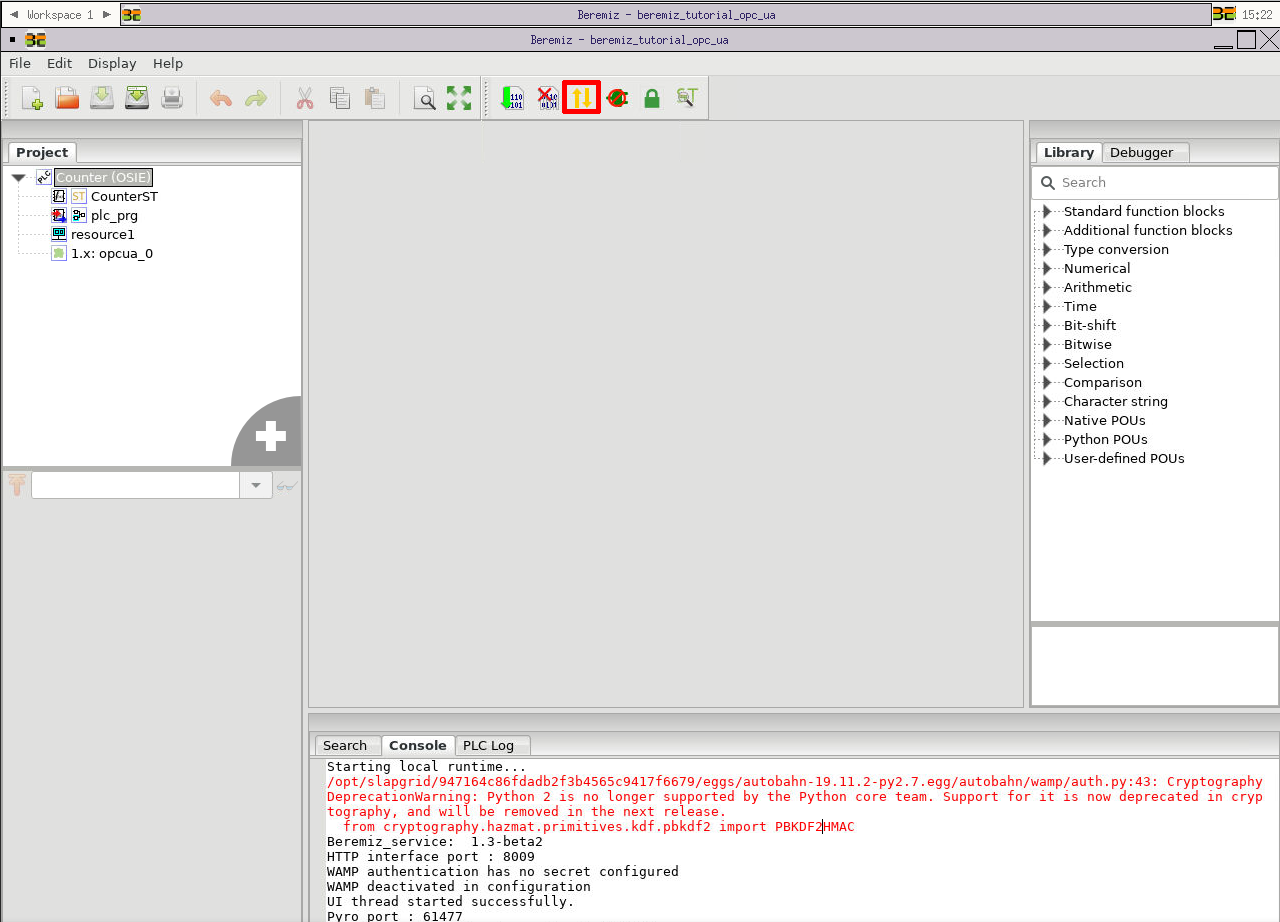
Step 1: Connect to local Beremiz runtime
Once the project is successfully built you need to connect to a local beremiz runtime which will execute the compiled PLC binary code independently from current Beremiz IDE. You should click on "Connect" button as shown above.
Step 2: Transfer your build code to local Beremiz runtime
Once you are connected to Beremiz runtime you need to transfer it to the compiled PLC binary code. You should click on "Transfer" button as shown above.
Step3: Start your PLC
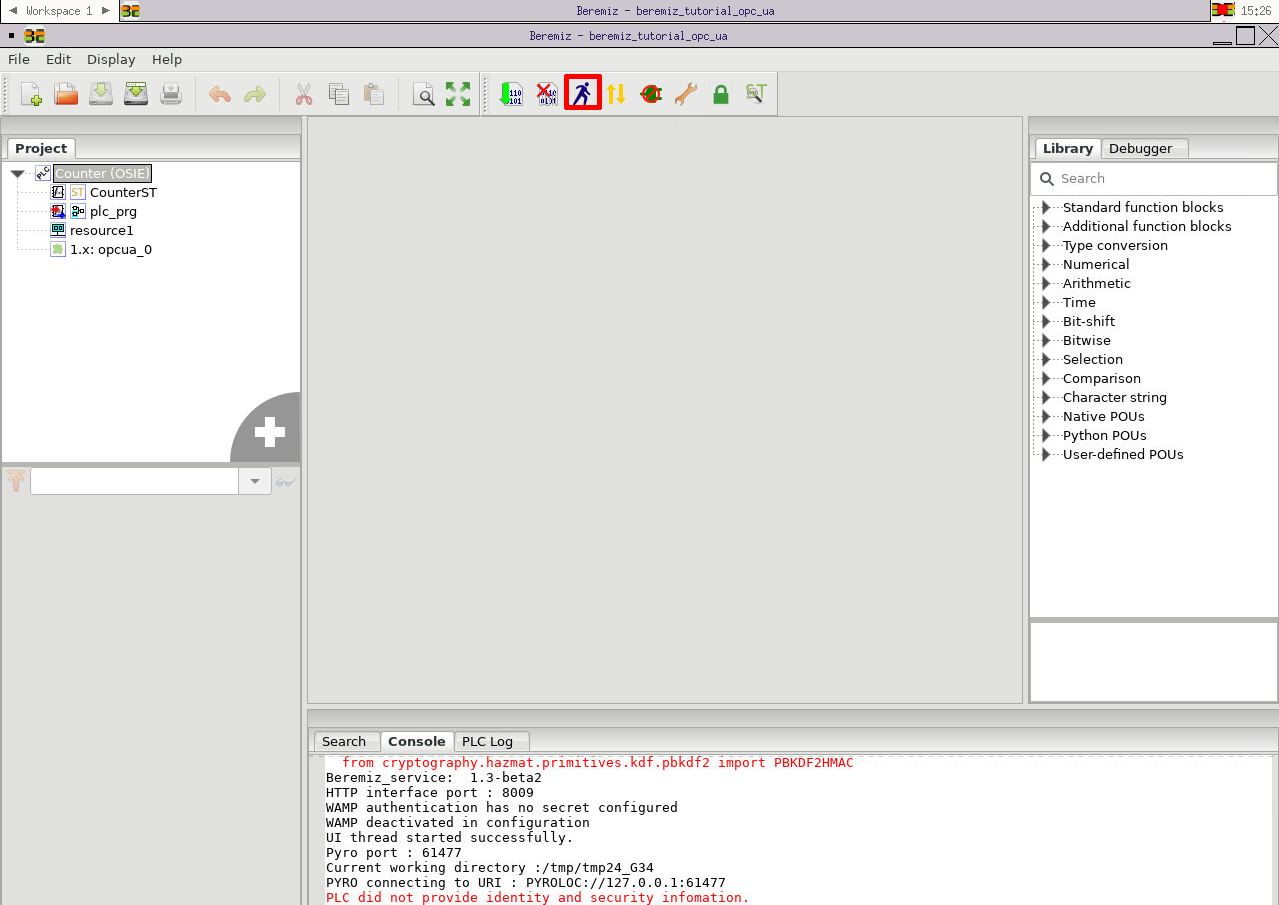
Finally you can start your PLC. You should click on "Start" button as shown above. This will execute the program.
View your PLC code in action (video)
You could run an example PLC program using a real rPLC coupler device. Video below shows it in action.
View your PLC code
- You can see your rPLC device's relays blinking.
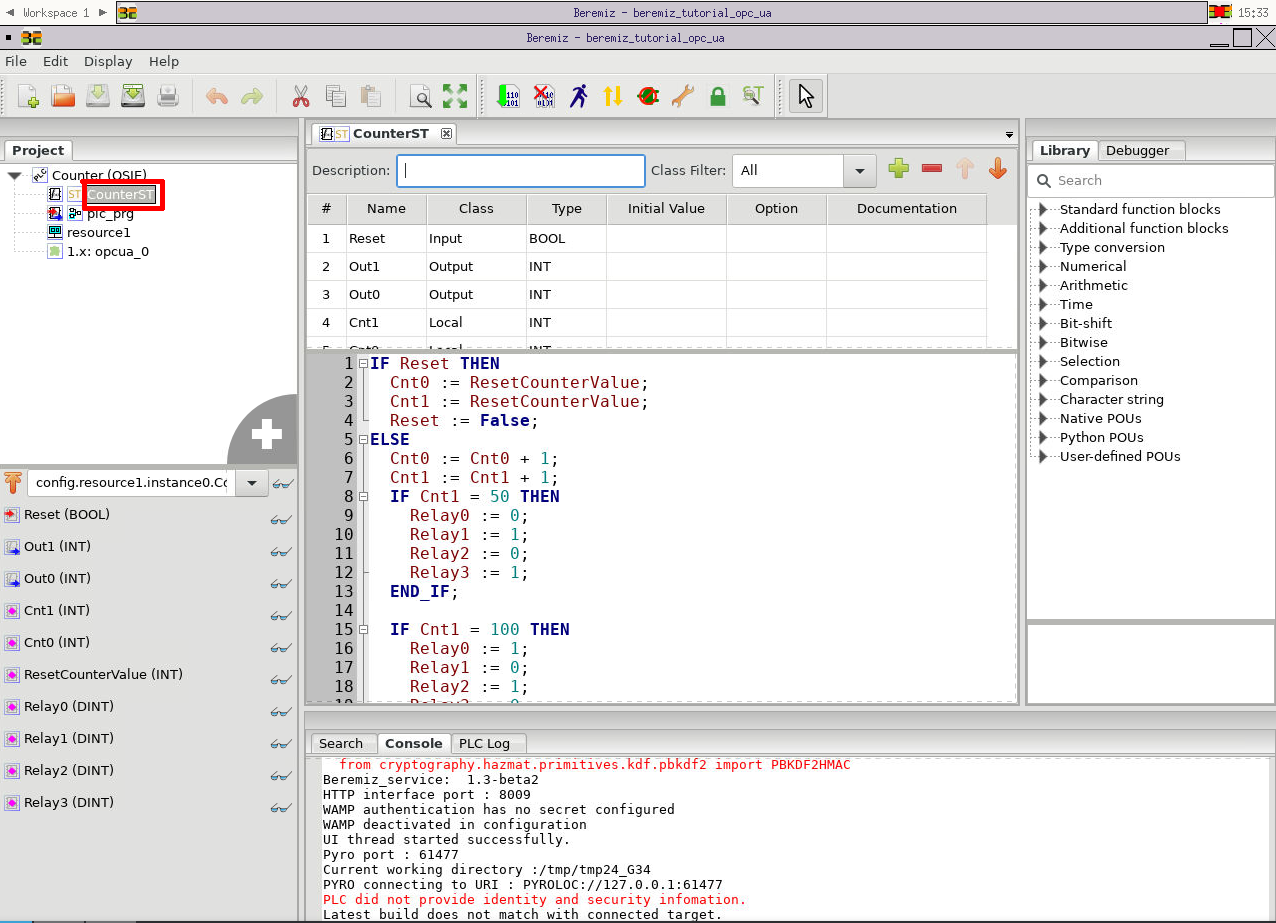
- If you want to explore the contents of your PLC code you should click as shown above.
- You are free to experiment and edit PLC code and see your changes in the rPLC coupler.