Agenda
- Supply Beremiz IDE software on an edge server
- Request a Beremiz IDE software instance on an edge server
- Accessing the Beremiz IDE inside your browser
Requirements
Goal
This how to explains how to setup a Beremiz IDE using SlapOS on an edge server which you can use in automation projects.
Supply Beremiz IDE software on an edge server
Step 1: Supply via SlapOS Panel
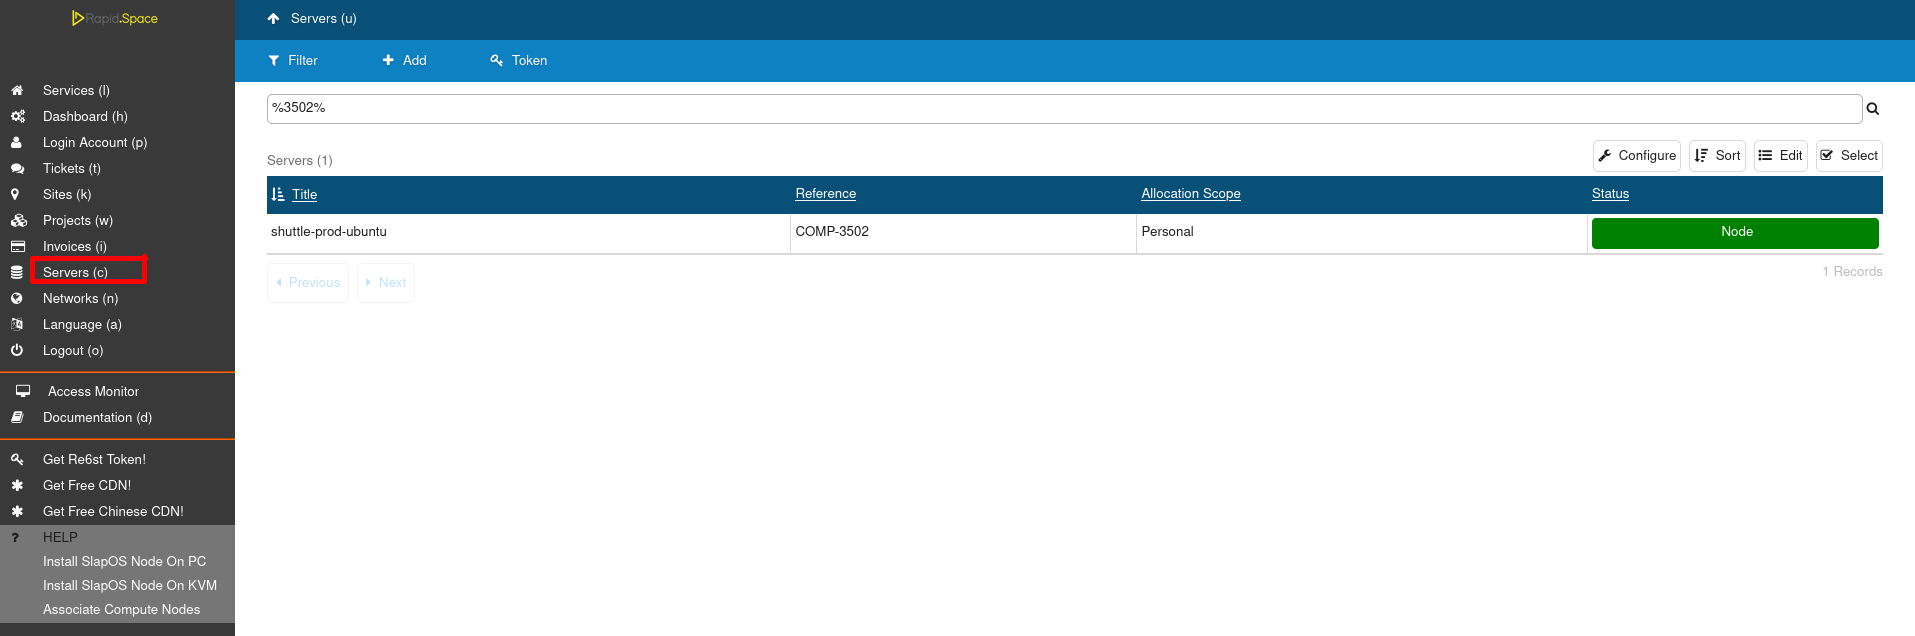
- Login to the panel and click on Servers (c)
- Select the machine on which you want to supply the coupler
Step 2: Supply via SlapOS Panel (continued)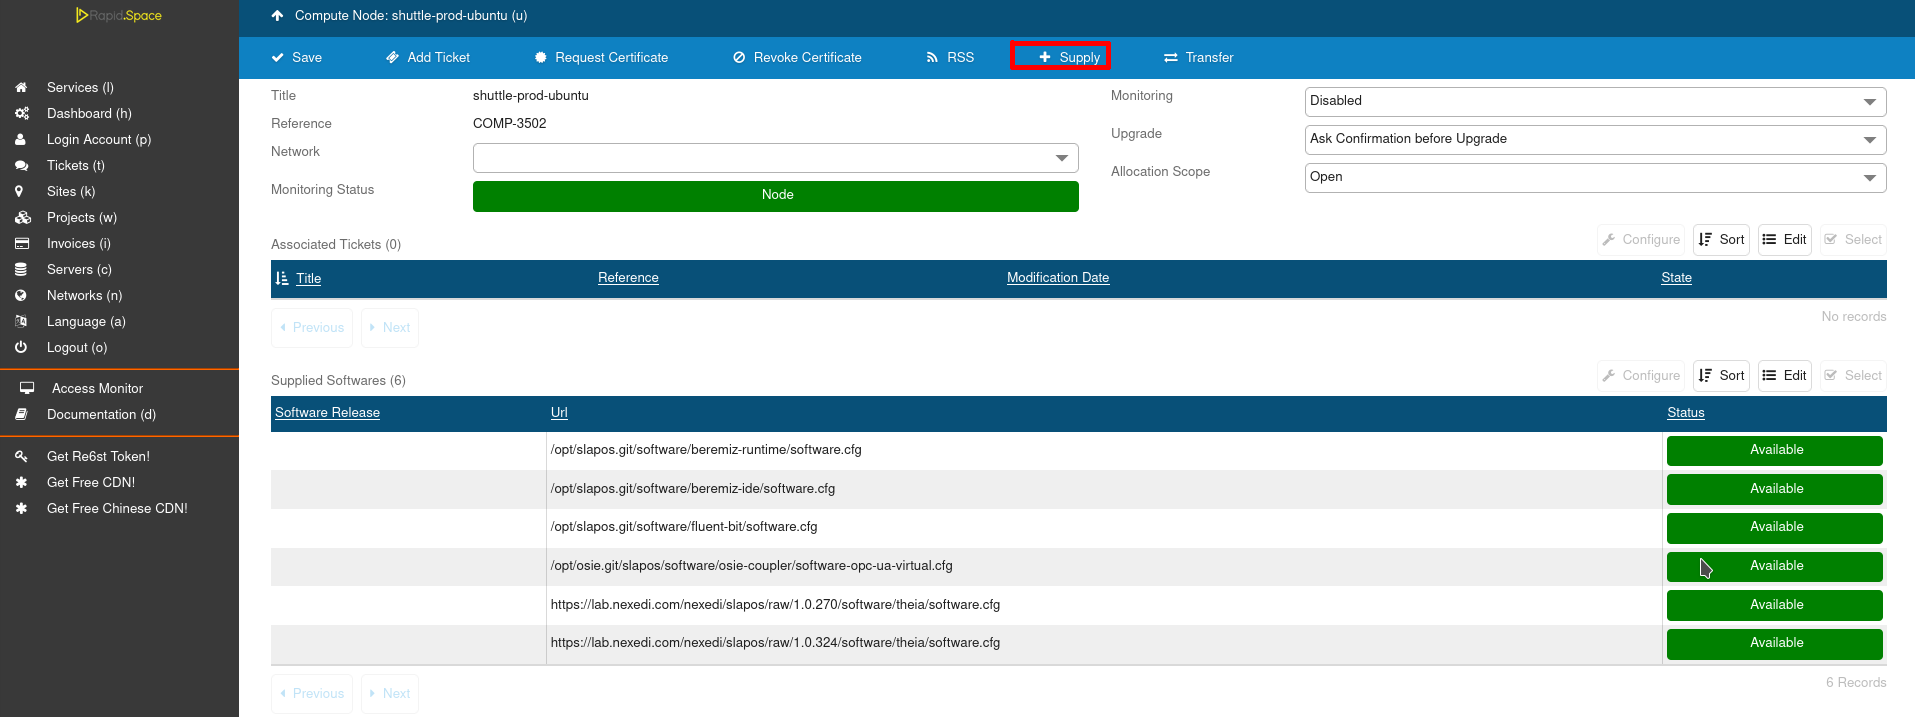
- Click on the Supply button.
Step 3: Supply via SlapOS Panel (continued)
- Select Beremiz IDE.
Step 4: Supply via SlapOS Panel (continued)
- Choose the newest version.
Step 5: Supply via SlapOS Panel (continued)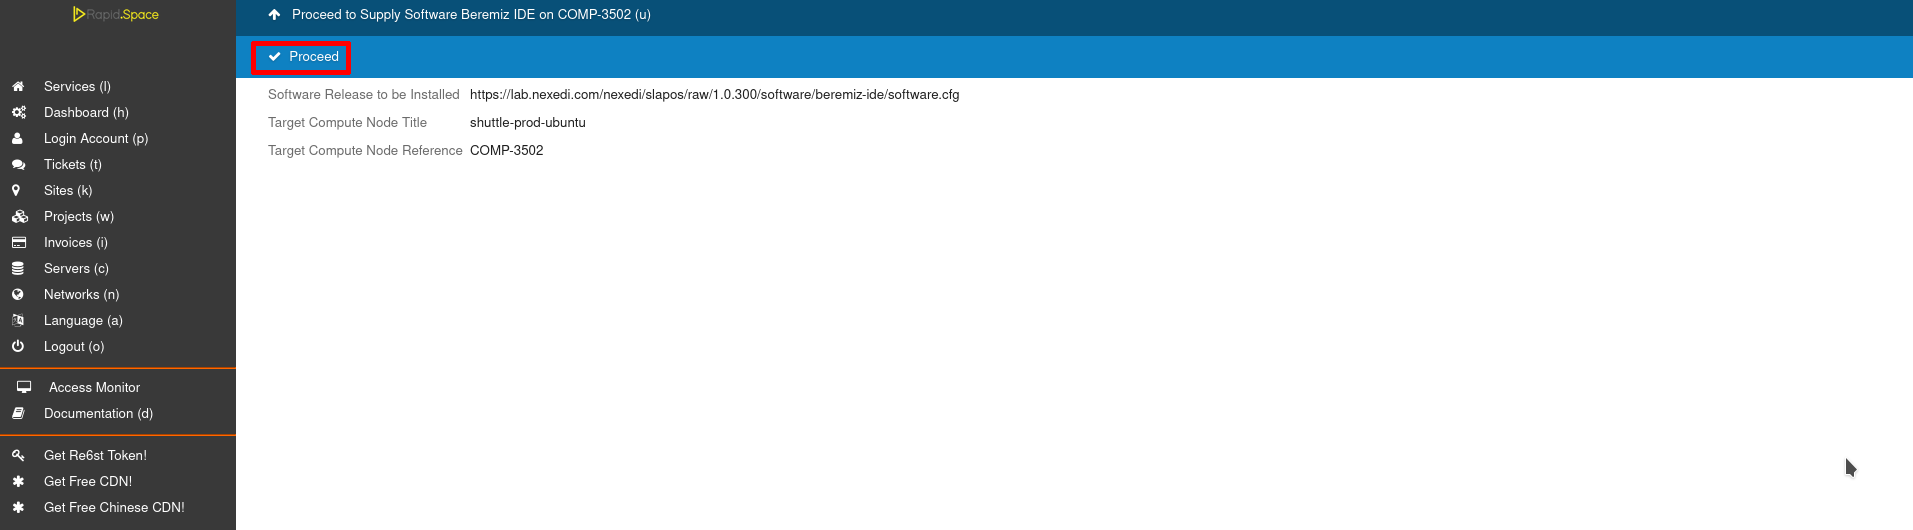
- Click on Proceed.
- Wait until the compilation process has finished.
Step 6: Monitor compilation
You can monitor the process on the respective machine by running
tail -f /opt/slapos/log/slapos-node-software.log
Request a Beremiz IDE software instance on an edge server
Once Beremiz IDE software release is installed in order to use it we need a Beremiz instance. For the moment this instance does not need any configuration thus using defaults is good enough for a start.
Step 1: Request via SlapOS Panel

- Go to the SlapOS dashboard and click on the Services (l) button.
- Click on the "Add" button
Step 2: Request via SlapOS Panel (continued)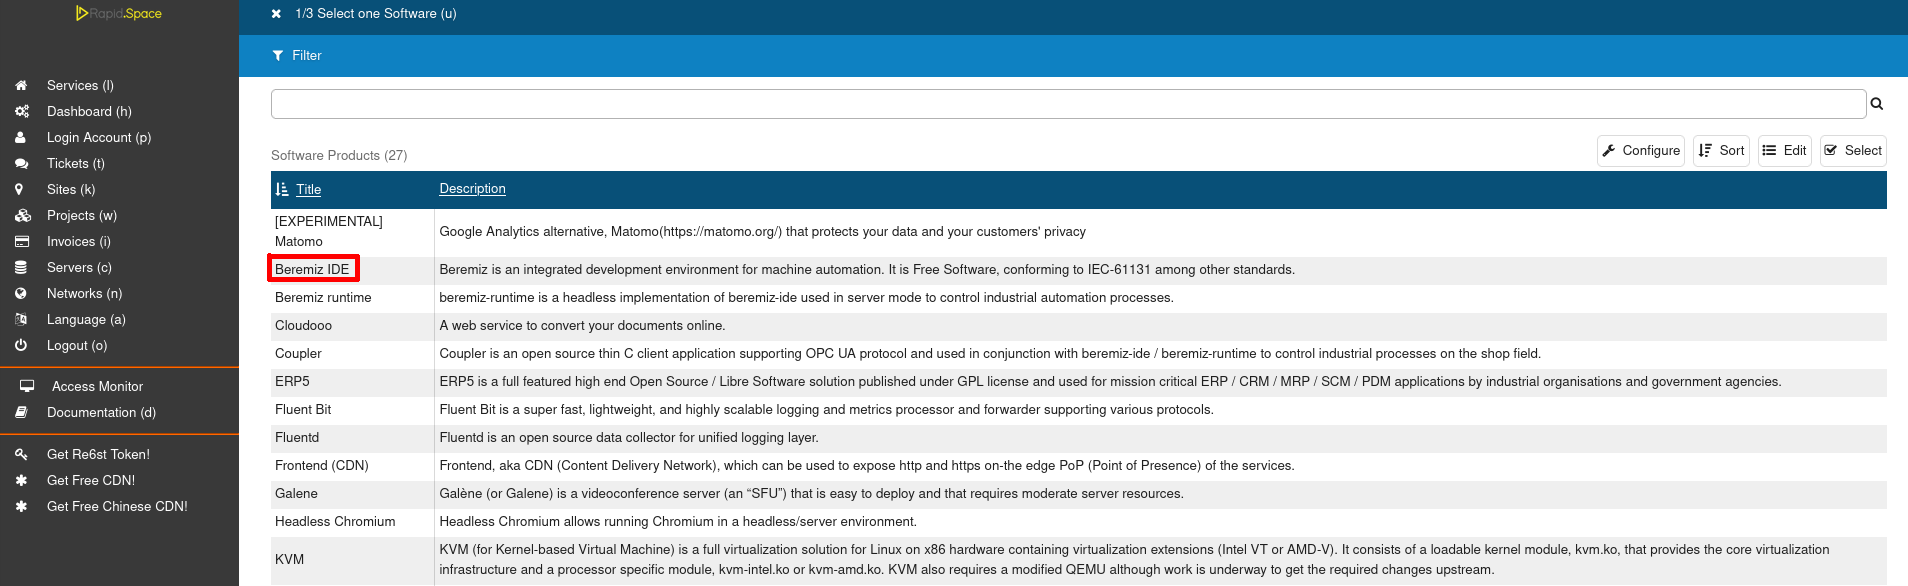
- Select "Coupler".
Step 3: Request via SlapOS Panel (continued)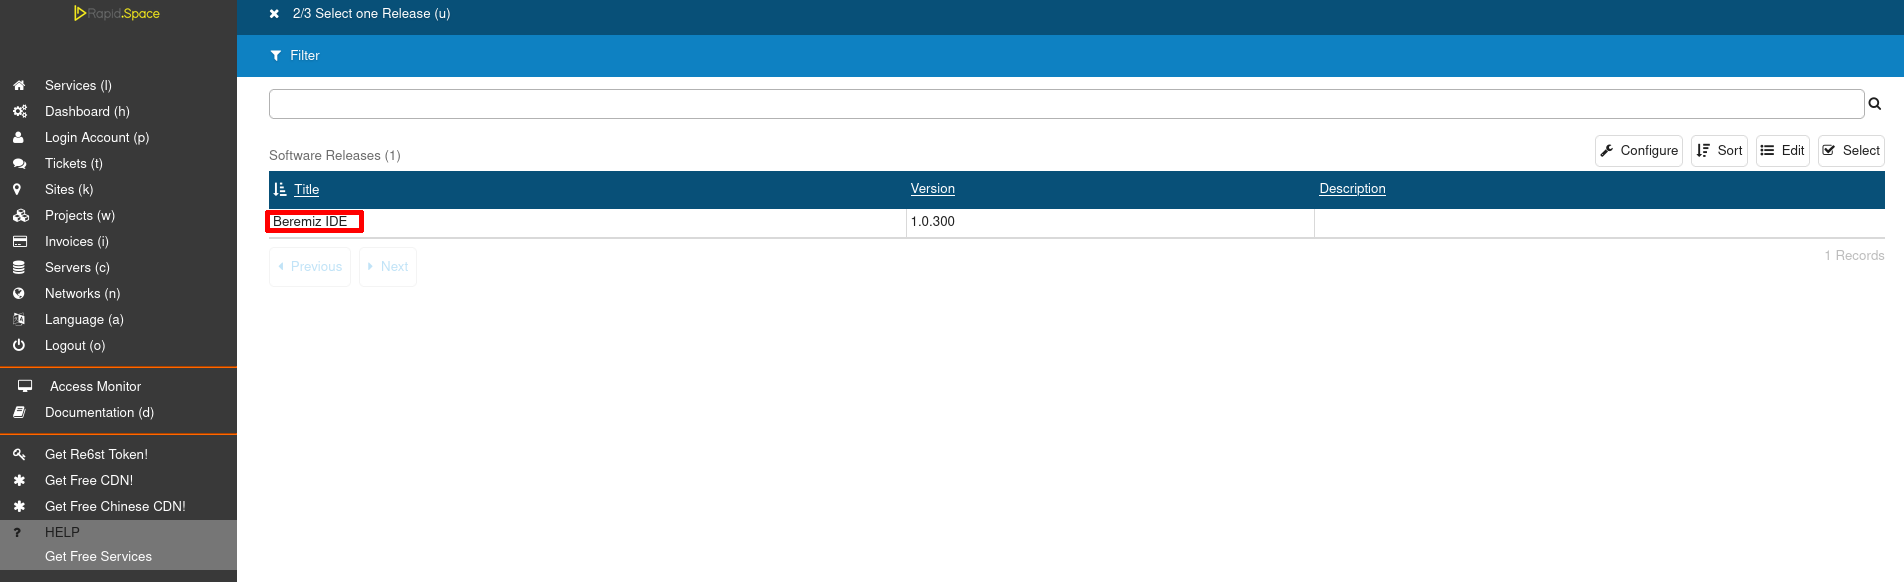
- Pick the newest version.
Step 4: Request via SlapOS Panel (continued)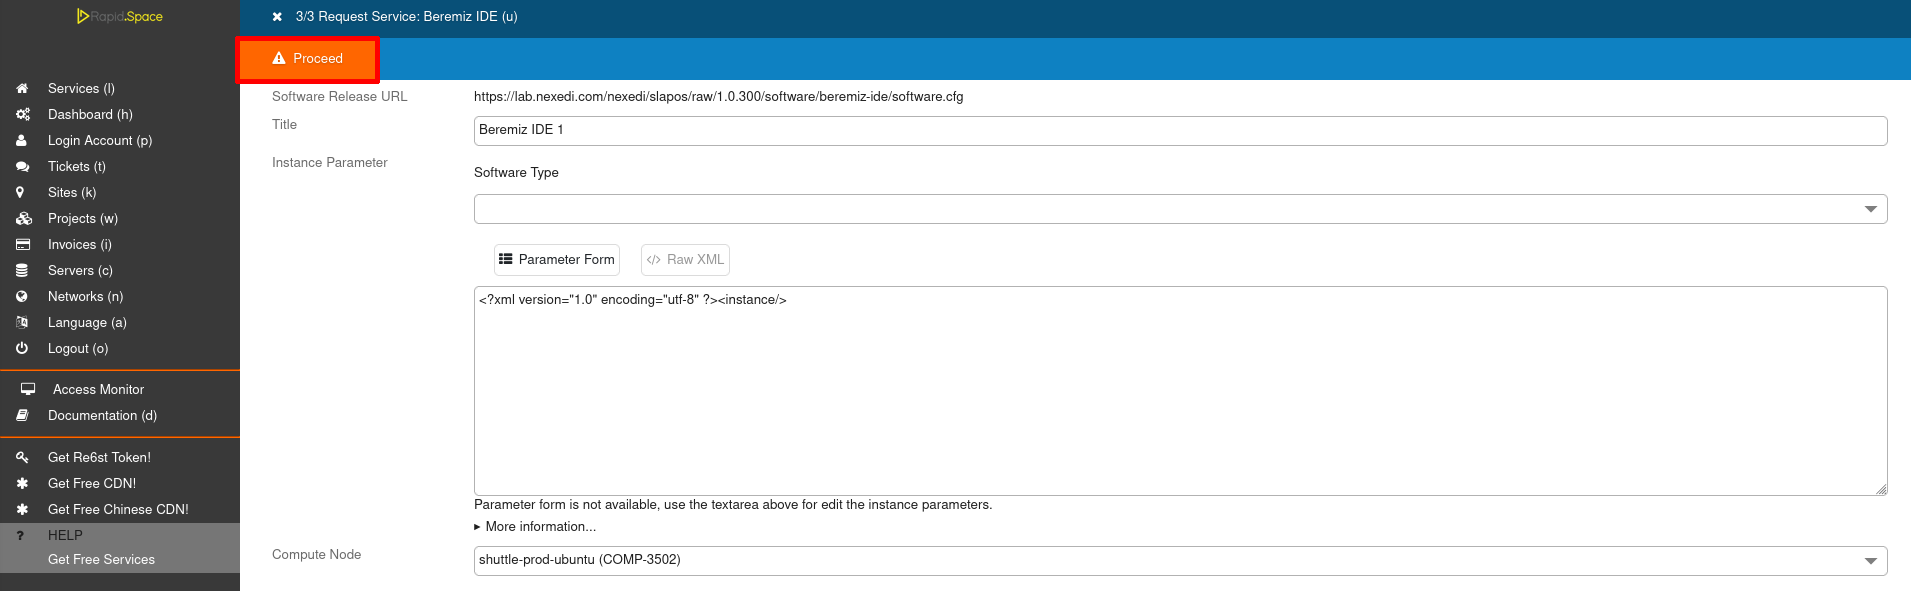
- Don't forget to correctly fill in your computer reference and instance name.
- Click Proceed to request the instance.
Step 5: Monitor instantiation
You can monitor the process on the respective machine by running
tail -f /opt/slapos/log/slapos-node-instance.log
Step 6: View Beremiz IDE Instance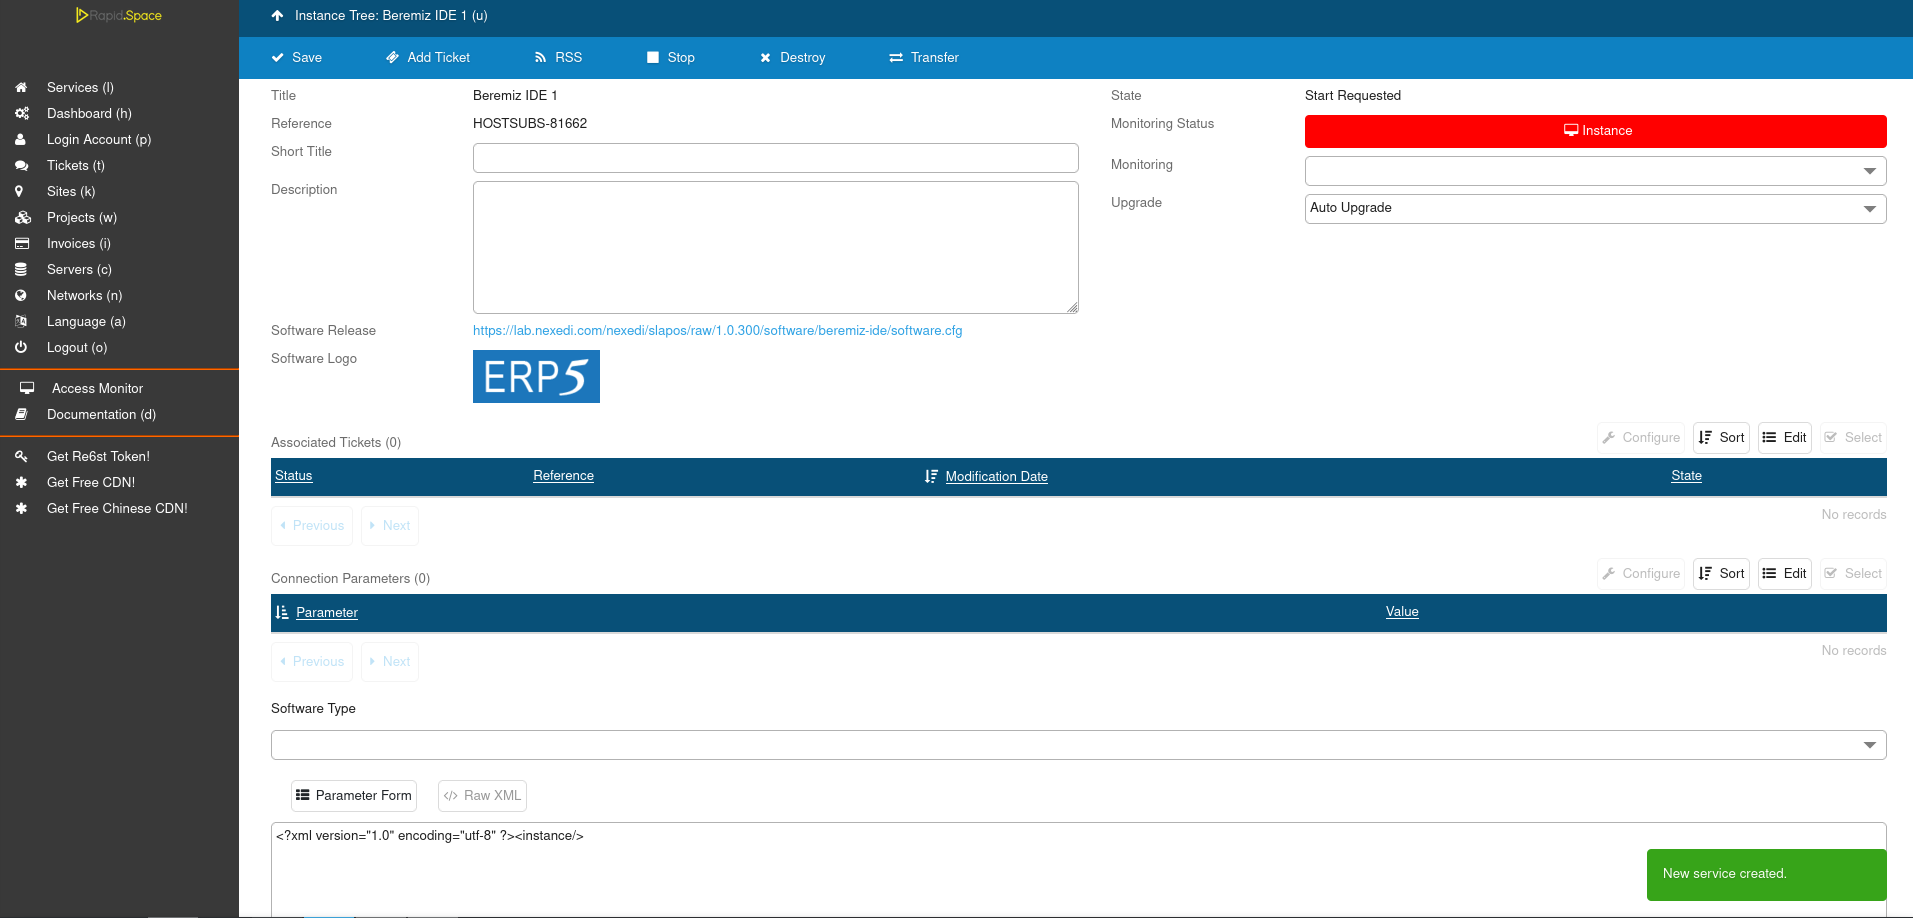
- This step can take some time.
- In your SlapOS dashboard you can see you newly requested instance.
- Instance is ready when the the Monitoring Status is green.
Accessing the Beremiz IDE inside your browser
Once your instance is ready you will see its connection parameters in its "Connection Parameters" section. Please copy "backend-url" and place it in your preferred browser.

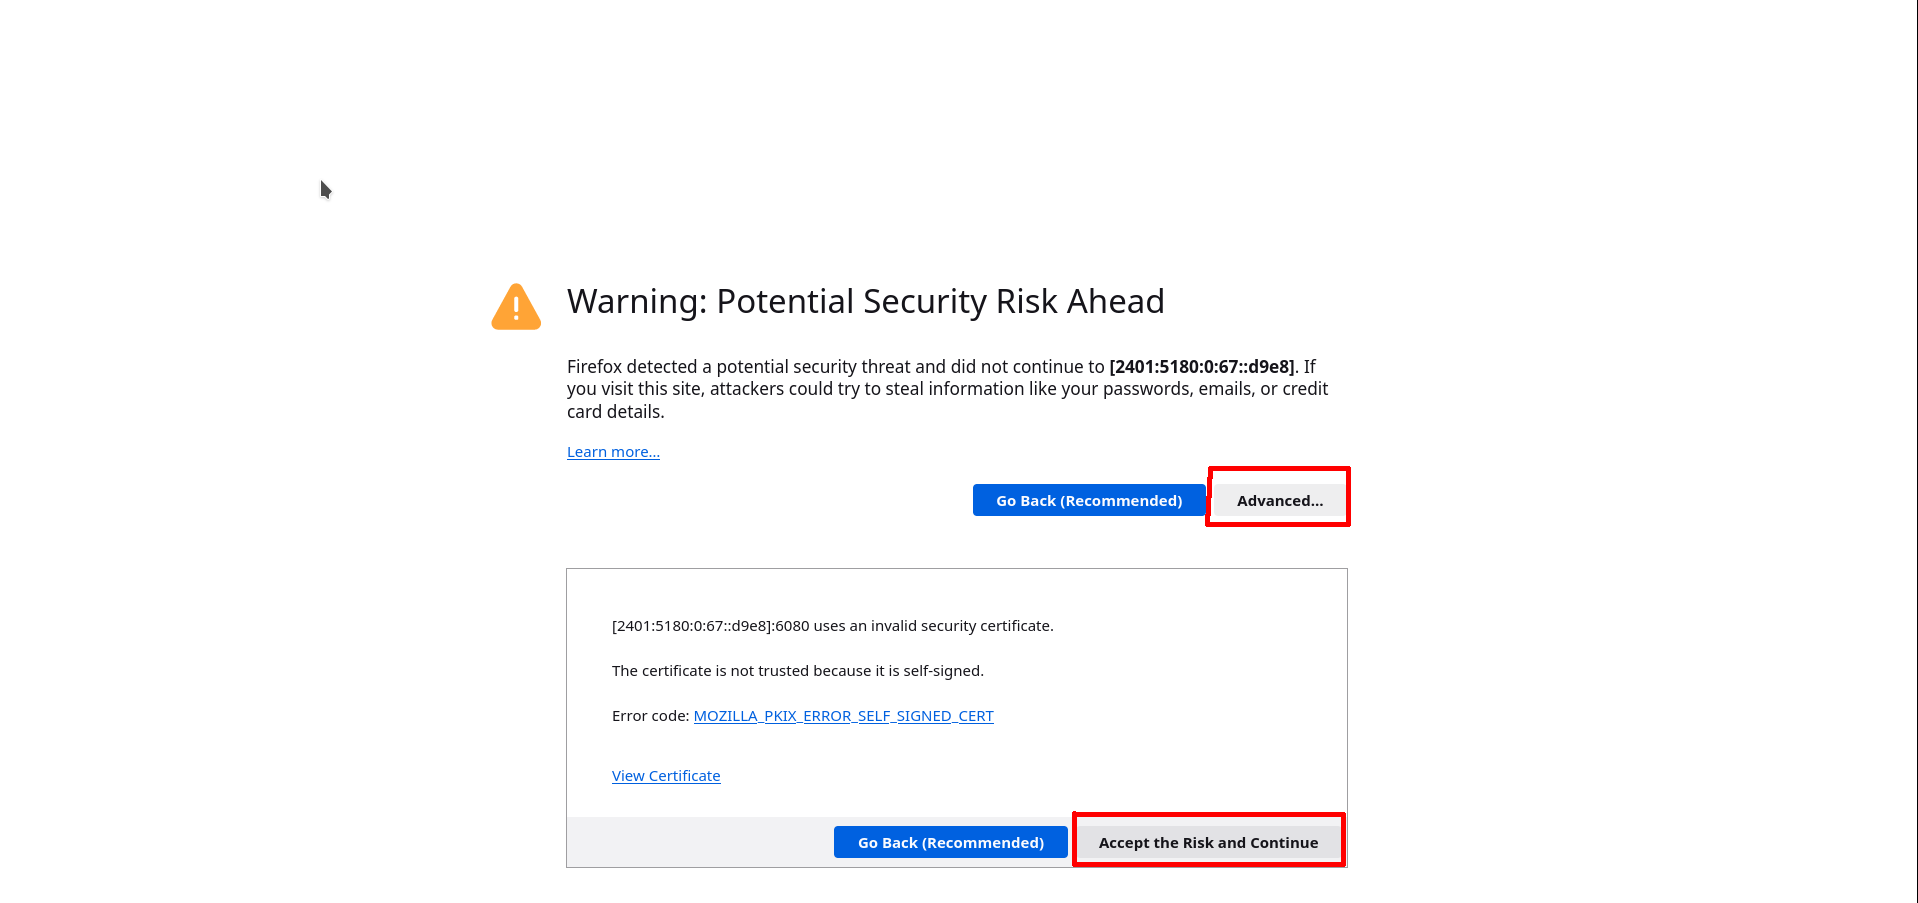
Once you are able to access it inside a browser you will see the following screen (below). This is normal warning as we use self-signed SSL certificates. It is perfectly safe to click first on "Advanced" and later on "Accept the Risk and Continue" buttons.
Connecting to a VNC session
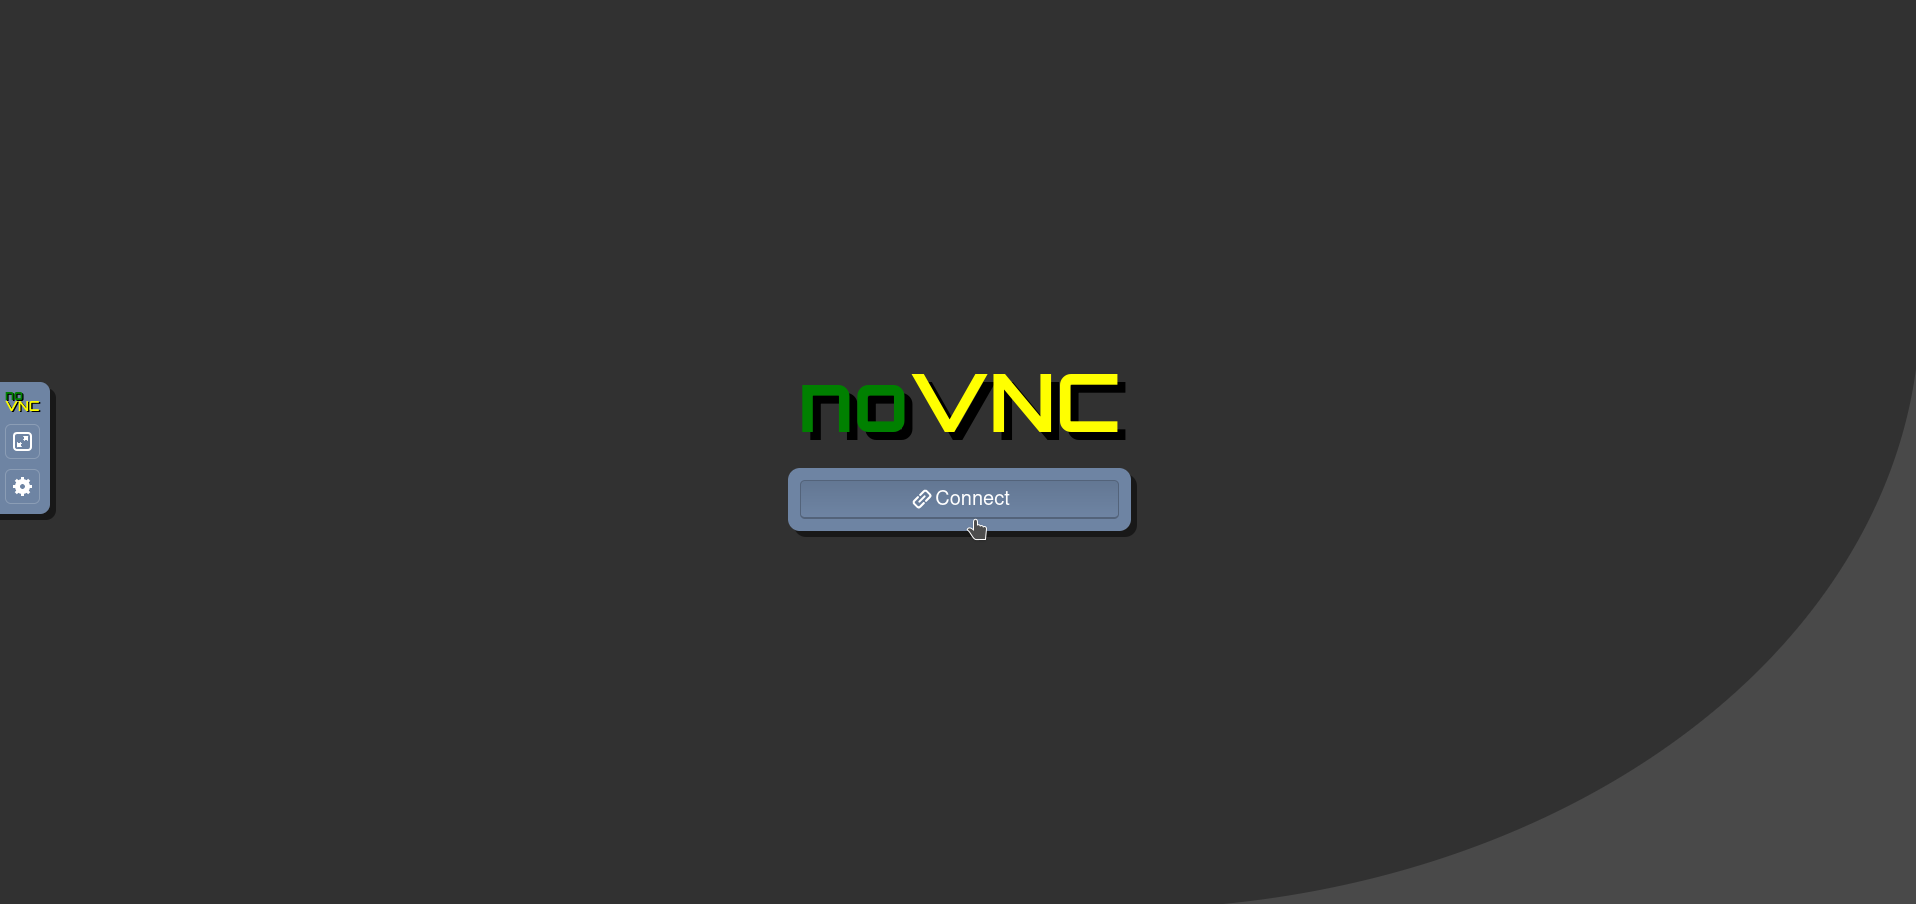
You should click on "Connect" button which will log you into a VNC session.
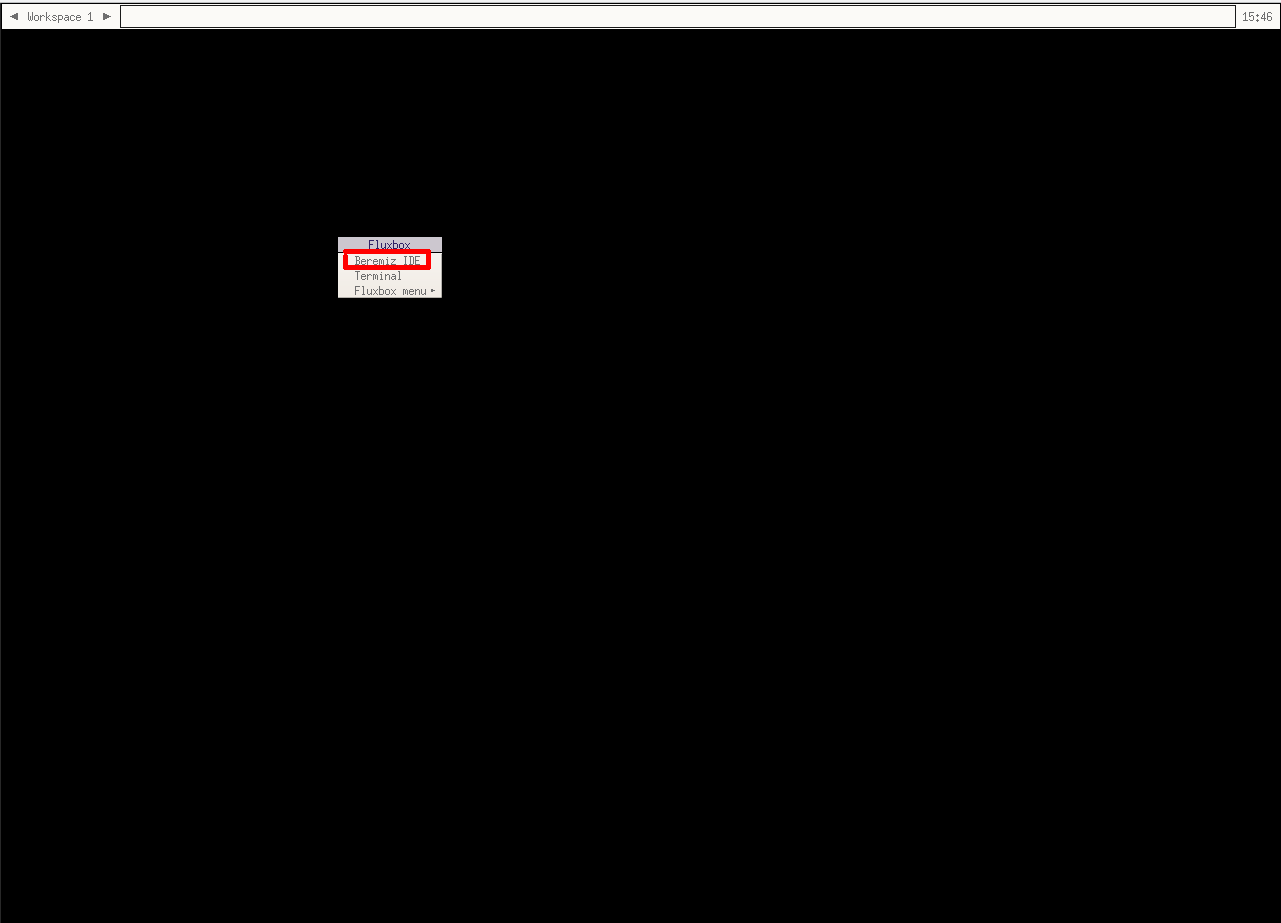
You can run Beremiz IDE by pressing left mouse button and selecting it from the context menu.
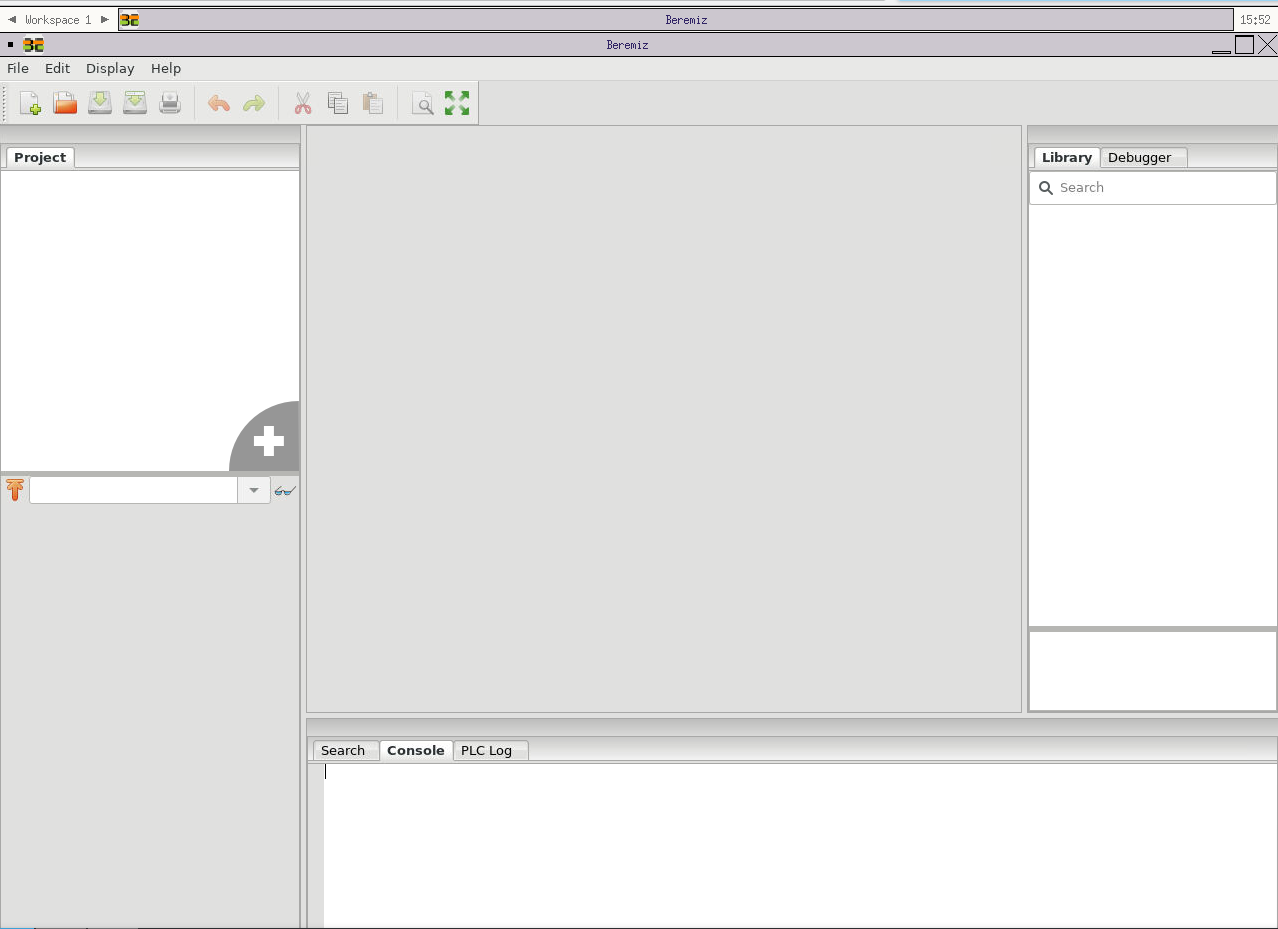
Once Beremiz IDE is started you can see its default UI.
Success
You can run Beremiz IDE in your browser and your IDE is ready to be used in PLC projects.