Agenda
- Supply rPLC's Coupler software on the coupler
- Request rPLC's Coupler instance on the coupler
- Adjust security
- Test that coupler software instance works
Requirements
Goal
This how to explains how to setup a generic OPC-UA capable Coupler using SlapOS which you can use in automation projects.
Supply rPLC's Coupler software on the coupler
Step 1: Supply via SlapOS Panel
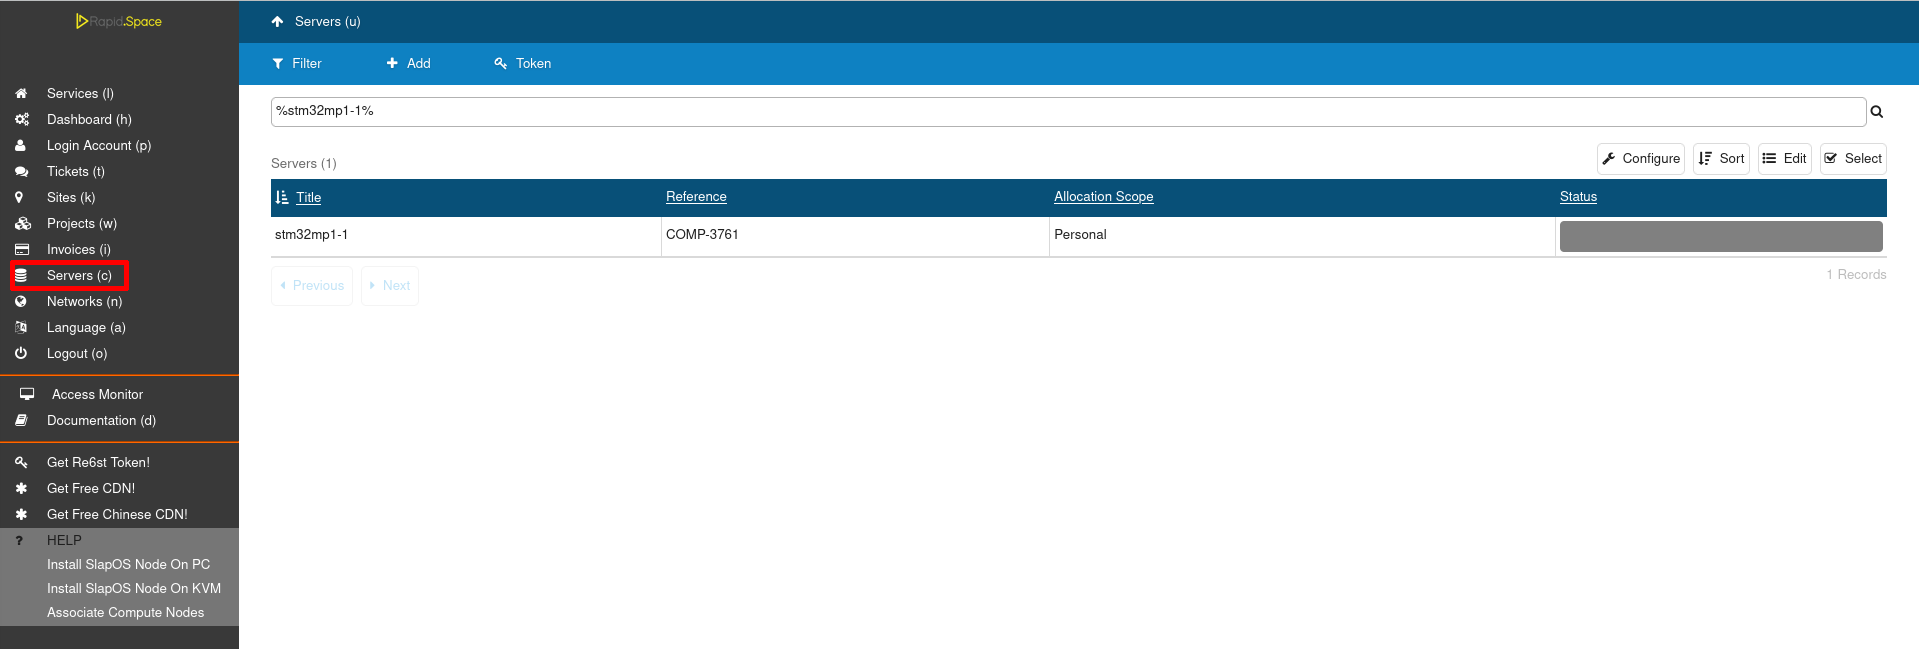
- Login to the panel and click on Servers (c)
- Select the machine on which you want to supply the coupler
Step 2: Supply via SlapOS Panel (continued)
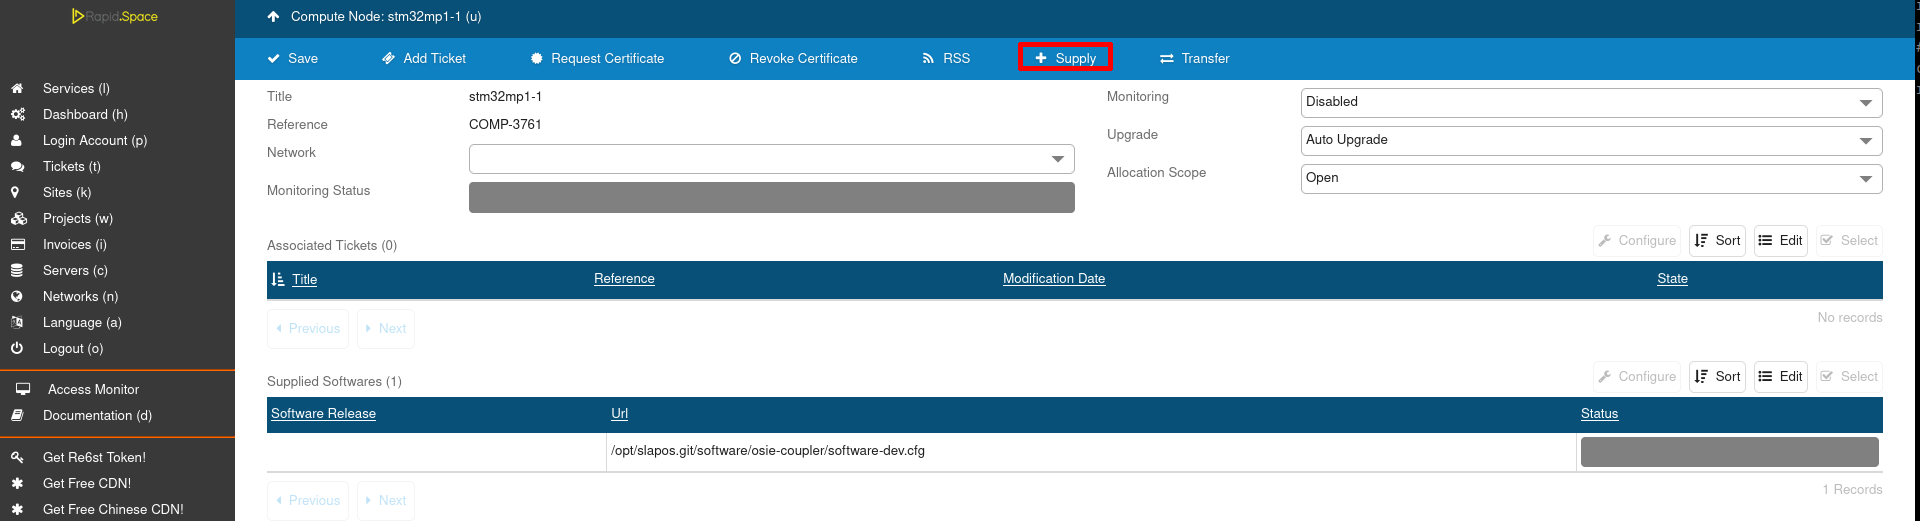
- Click on the Supply button.
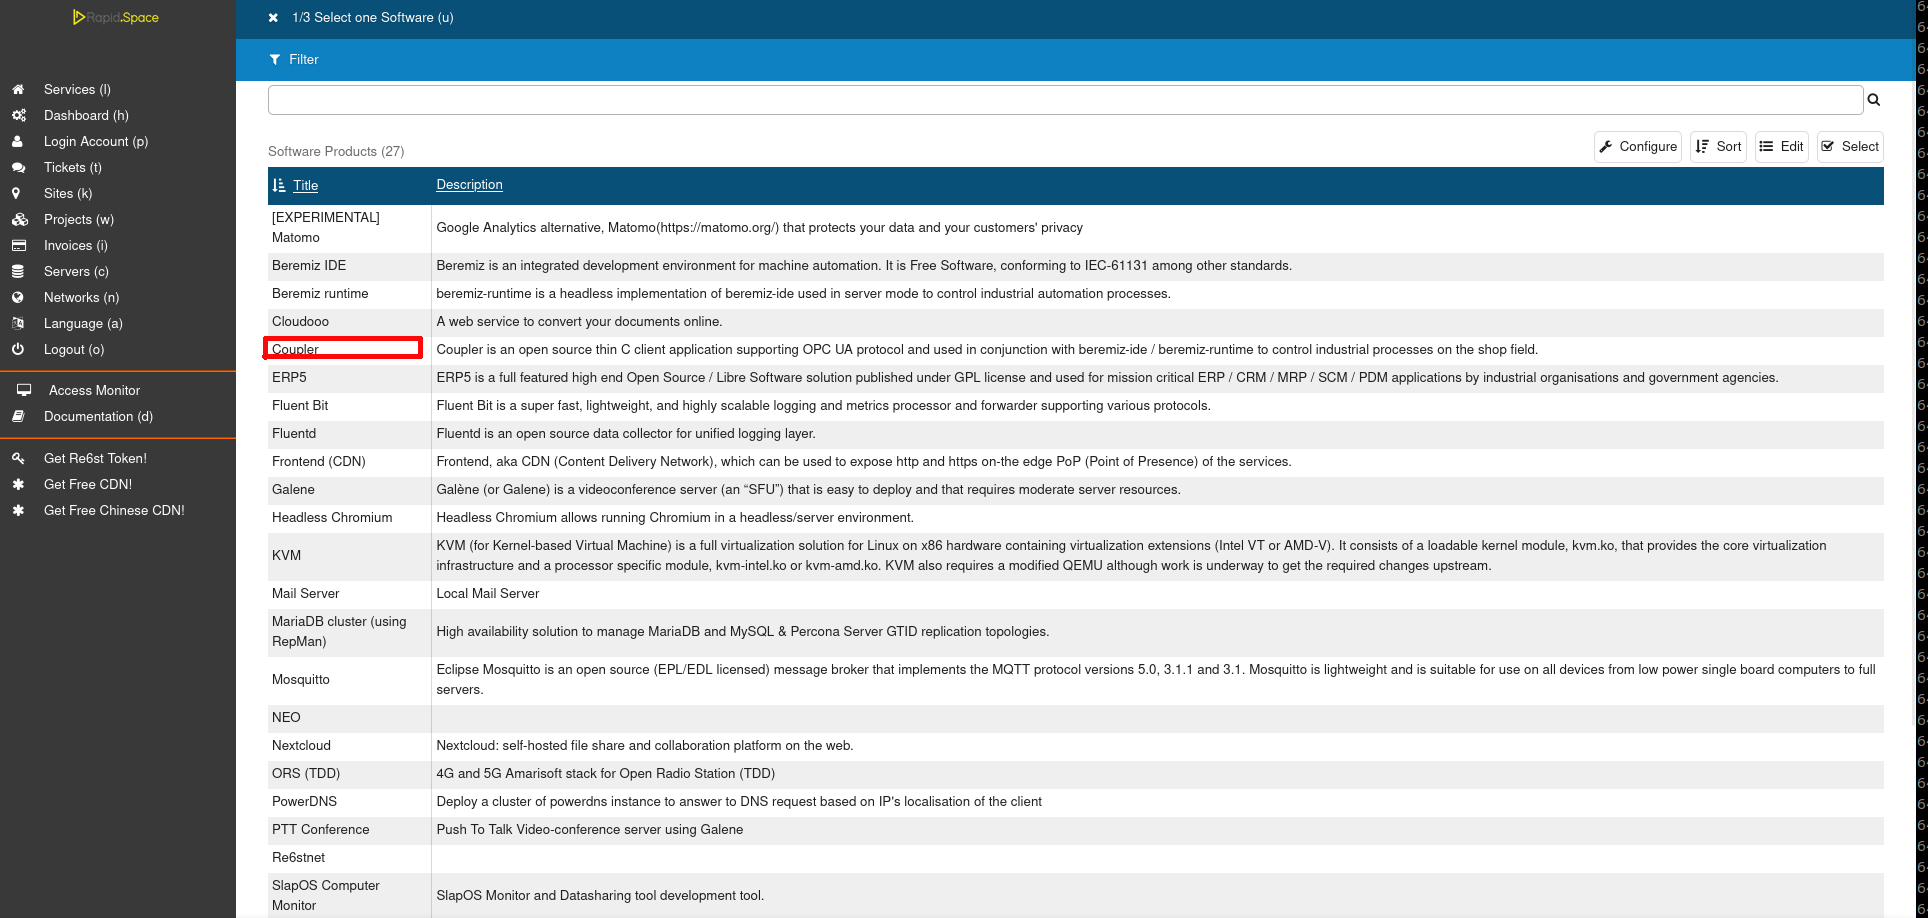
Step 3: Supply via SlapOS Panel (continued)
Step 4: Supply via SlapOS Panel (continued)
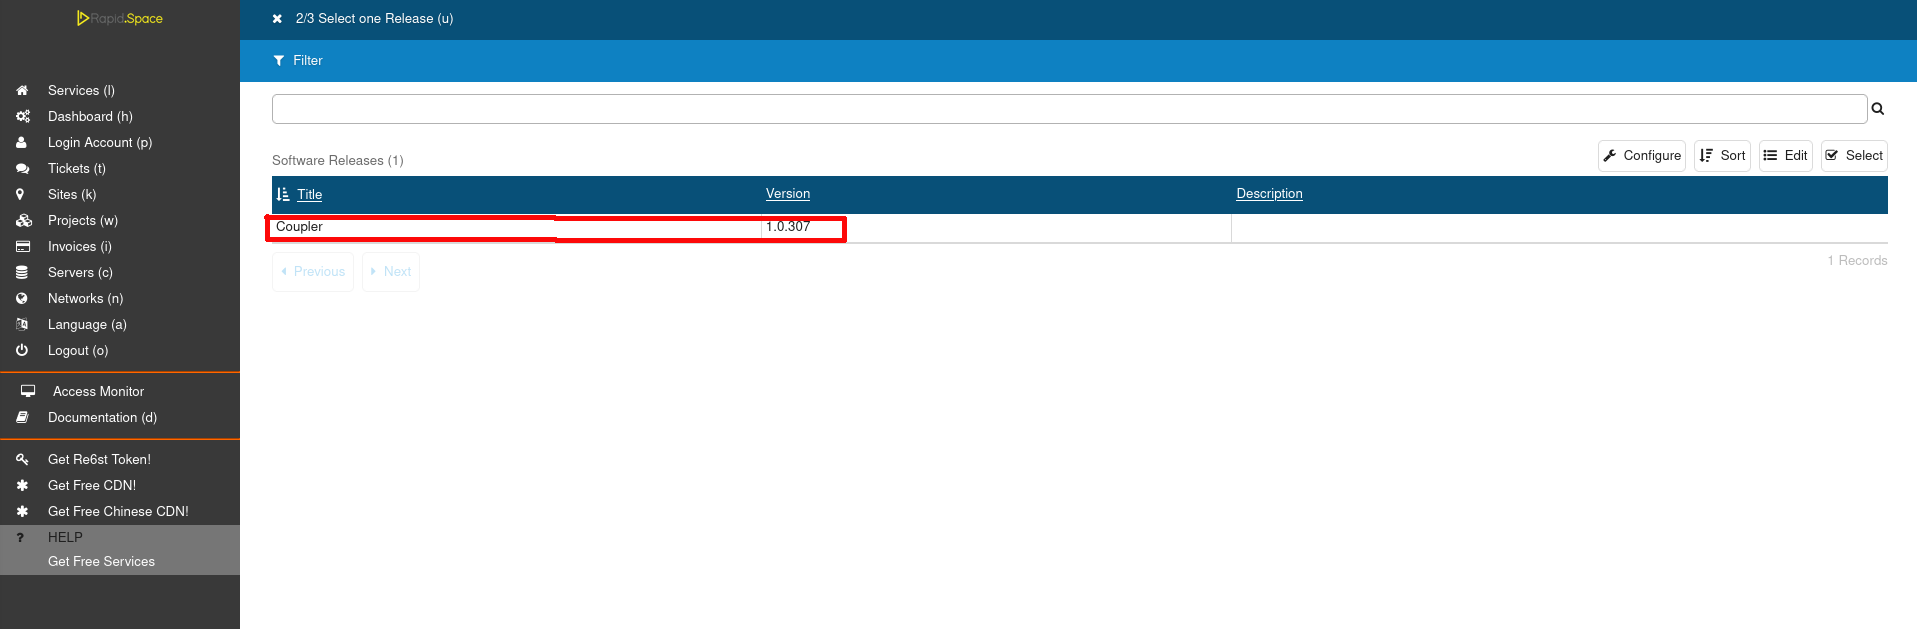
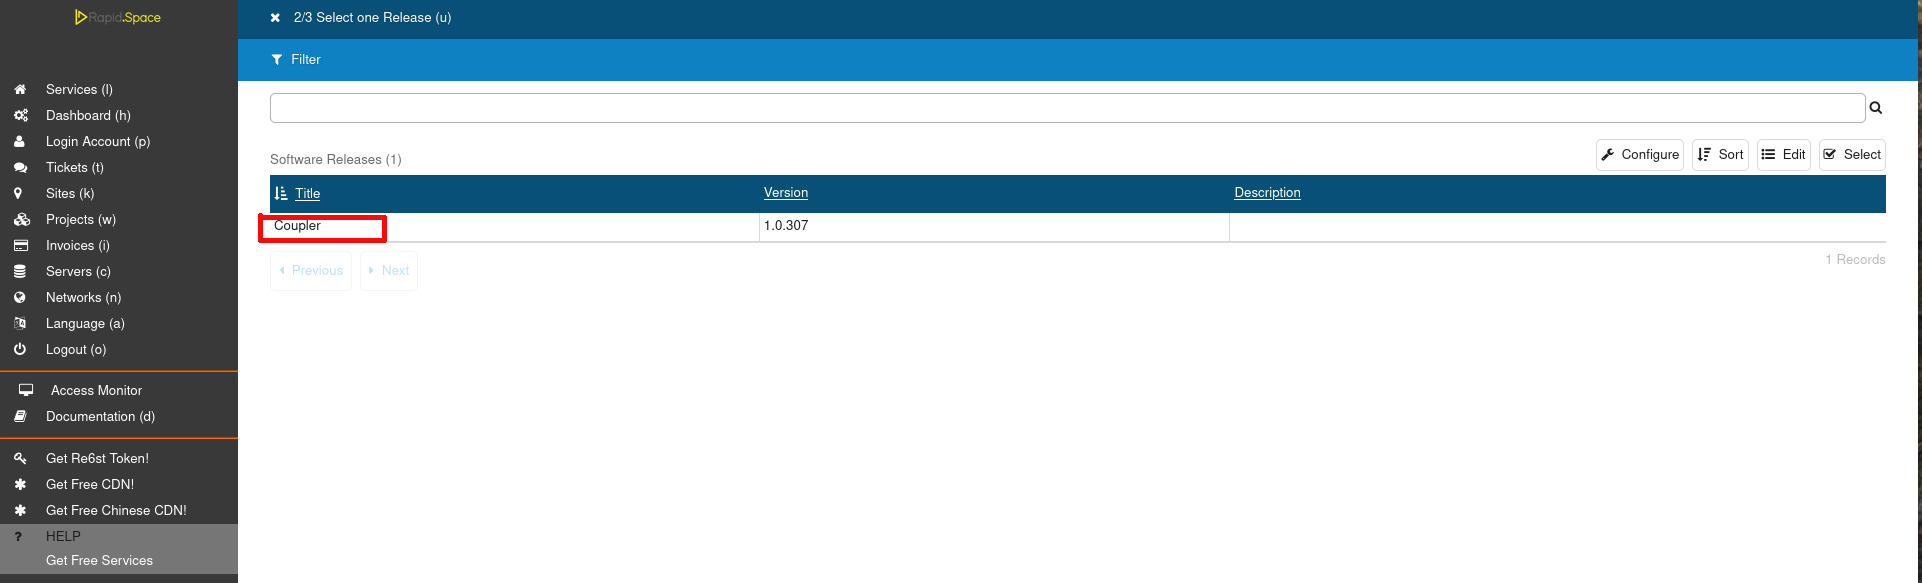
- Choose the newest version.
Step 5: Supply via SlapOS Panel (continued)
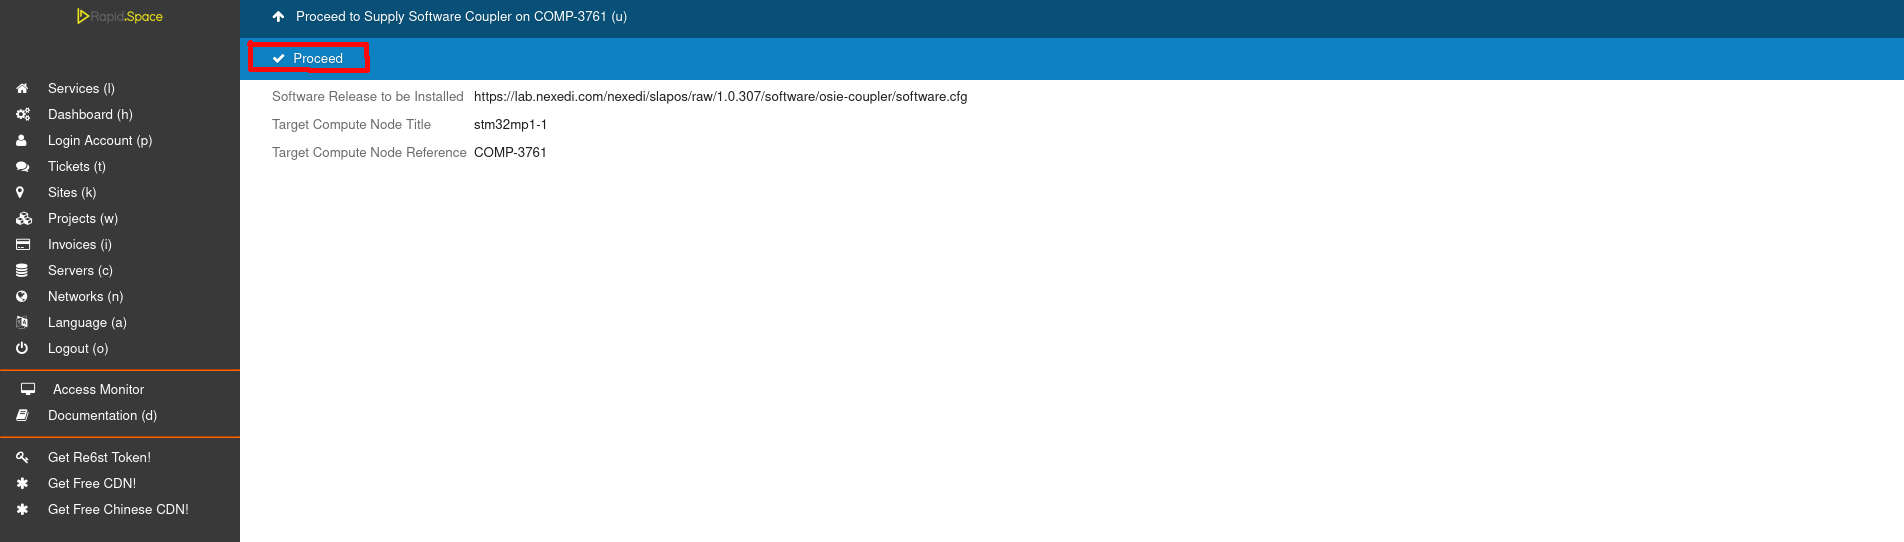
- Click on Proceed.
- Wait until the compilation process has been finished.
Step 6: Monitor compilation
You can monitor the process on the respective machine by running
tail -f /opt/slapos/log/slapos-node-software.log
Step 7: Configuration Parameters
By default one does not need to supply any configuration parameters. Using defaults is good enough for a start.
Request rPLC's Coupler instance on the coupler
Step 1: Request via SlapOS Panel
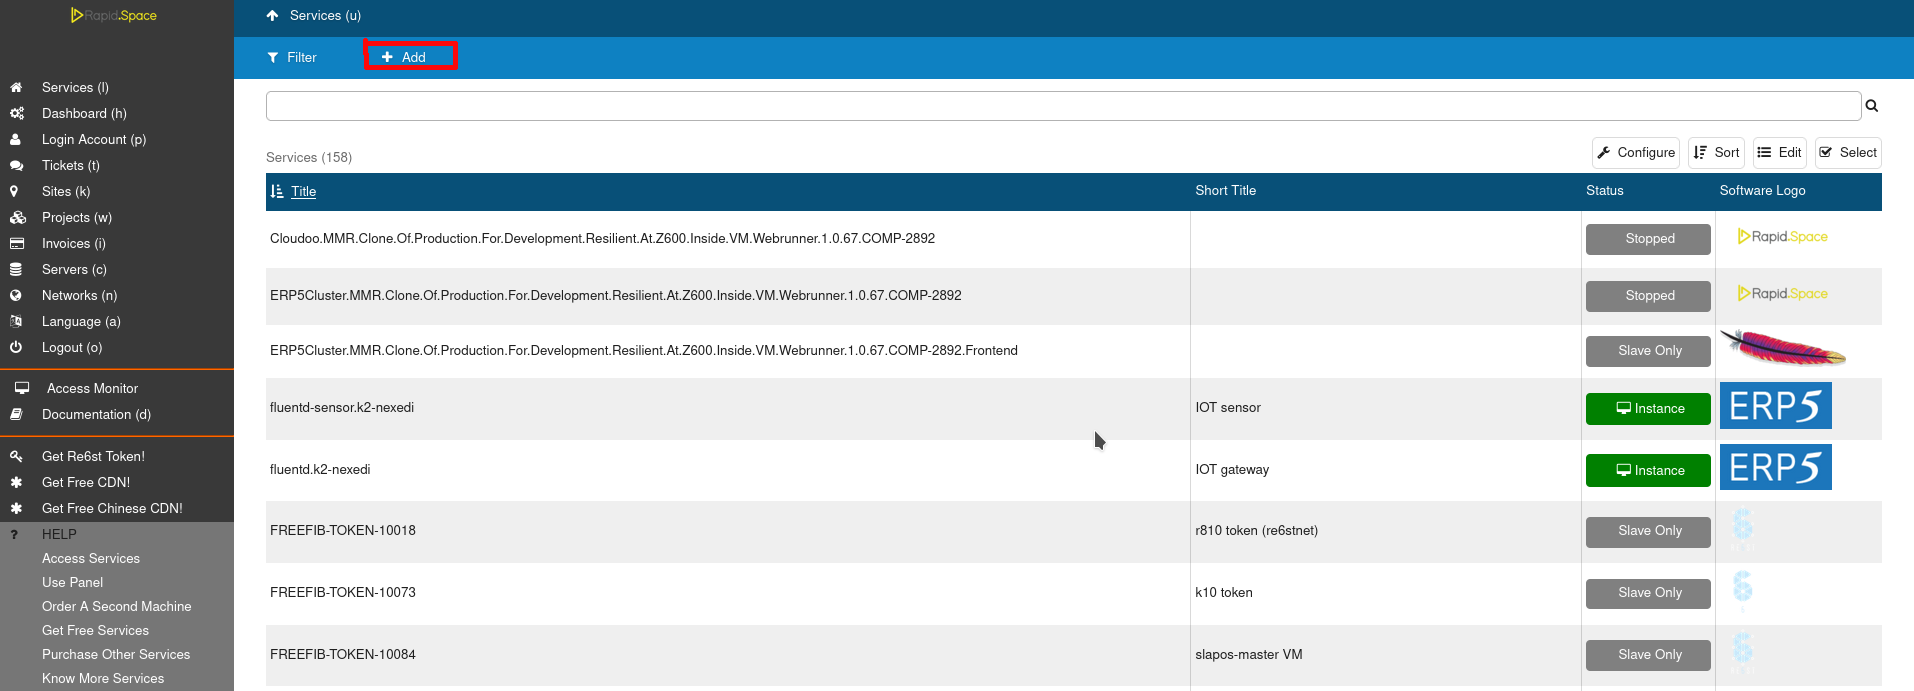
- Go to the SlapOS dashboard and click on the Services (l) button.
- Click on the "Add" button.
Step 2: Request via SlapOS Panel (continued)

Step 3: Request via SlapOS Panel (continued)
Step 4: Request via SlapOS Panel (continued)
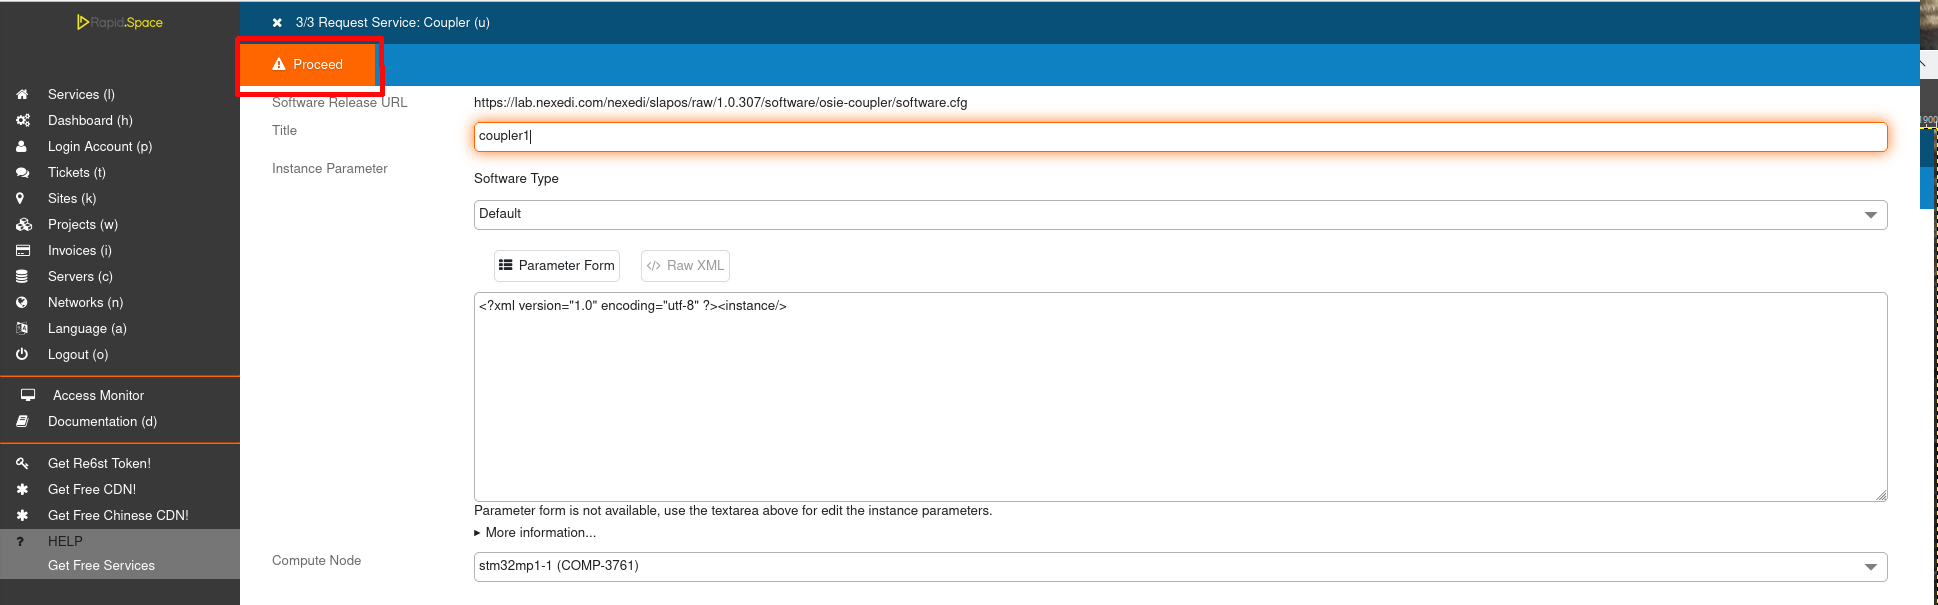
- Don't forget to correctly fill in your computer reference and instance name.
- Click Proceed to request the instance.
Step 5: Monitor instantiation
You can monitor the process on the respective machine by running
tail -f /opt/slapos/log/slapos-node-instance.log
Step 6: Access instance
- This step can take some time.
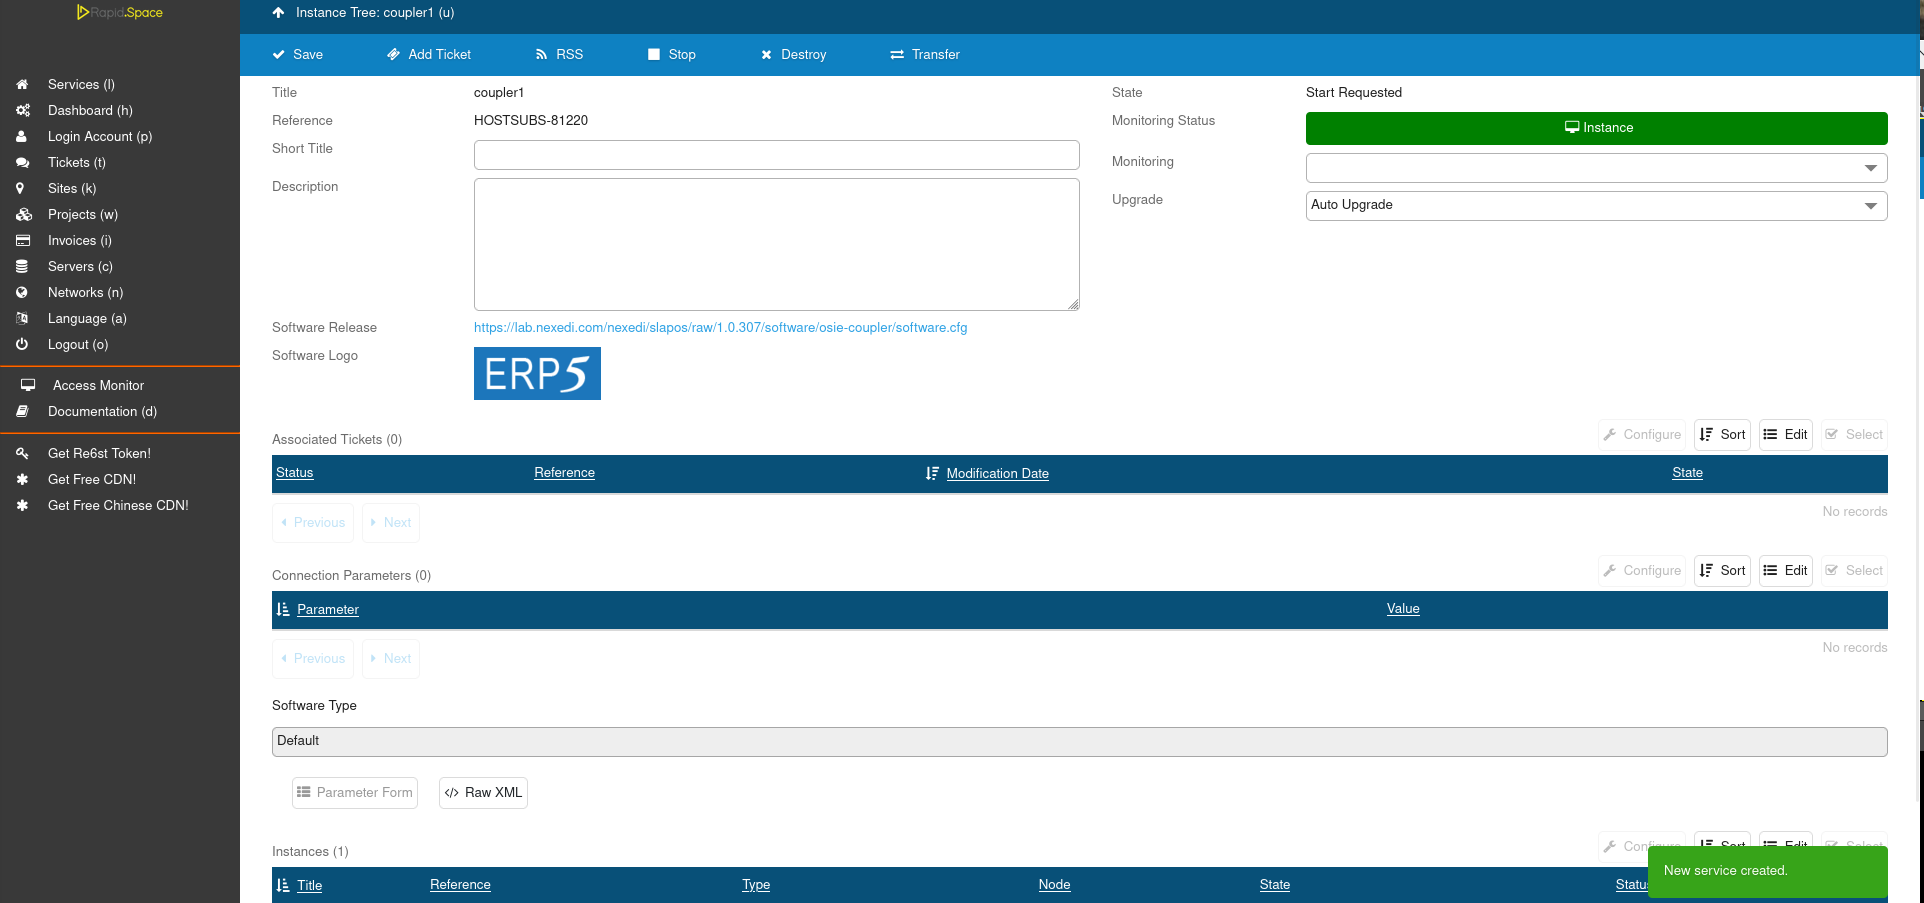
- In your SlapOS dashboard you can see you newly requested instance.
- Instance is ready when the the Monitoring Status is green.
Adjust security
Note: this step is needed to be done only once at every coupler instance.
You need to allow respective slapuserX access to I2C linux security group. This is not yet automated by SlapOS. Please issue following command (adjust for your slapuserX) as seen in image.

Test that coupler software instance works
The rPLc coupler itself is an OPC-UA server which anyone can access over IPv4 (or IPv6). Usually any OPC-UA enabled client can be used. Below you can see an image using UaExperts client.
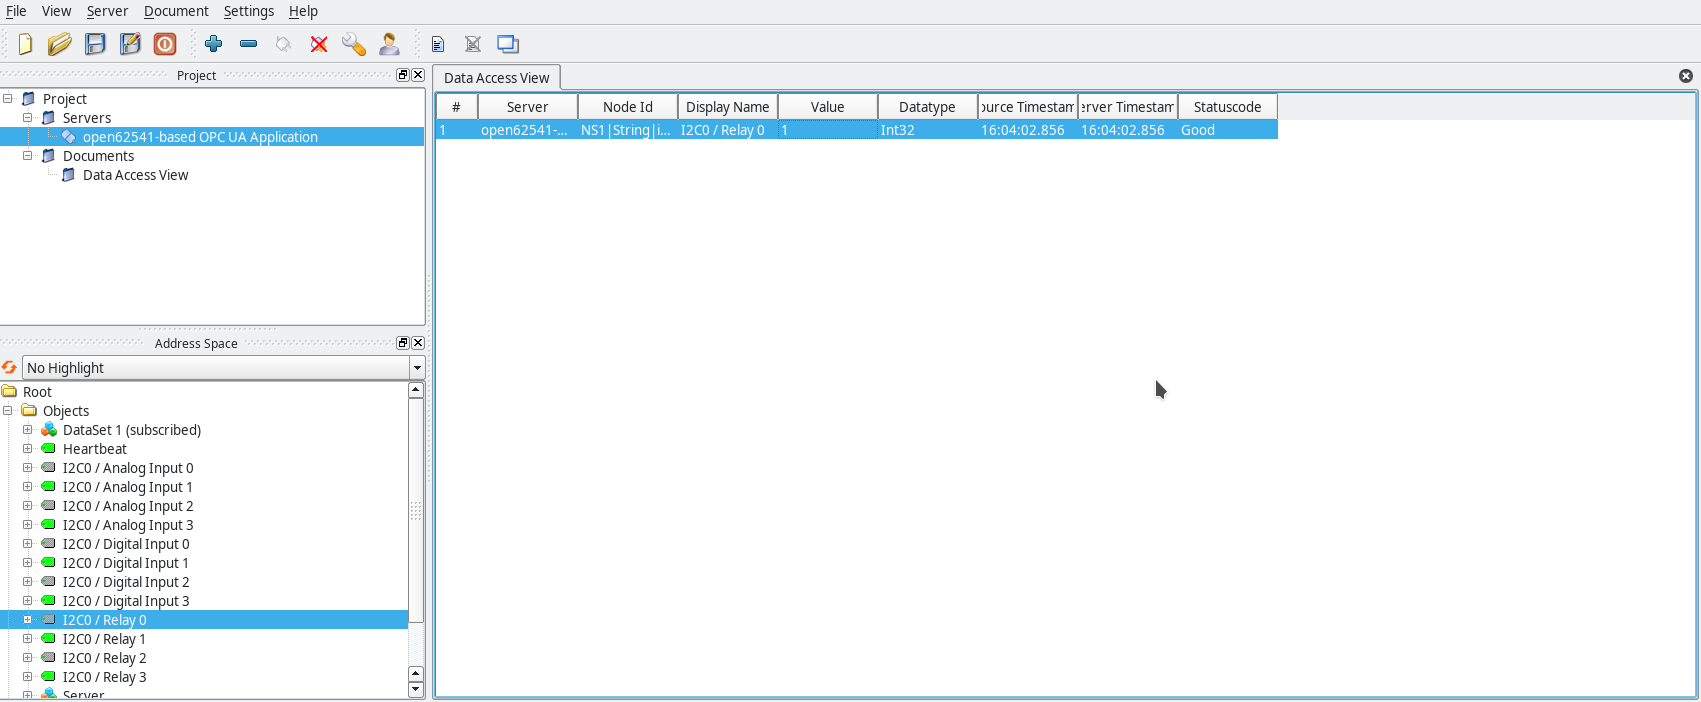
An easy test is setting "I2C0 Relay 0" from 0 to 1. This will switch on the relay 0 on the attached to coupler board's relay 0. In addition to relay fields, the coupler application exposes both 4 digital and 4 analog inputs as they can be seen above. To them different sensors and actuators can be attached and exposed to any OPC UA client control process application.