If you don't know WebRTC
WebRTC (Web Real-Time Communication) is an API open-sourced by Google
and currently being drafted by the World Wide Web Consortium (W3C). WebRTC enables voice calling, video chat and file sharing
between browsers without the need for internal or external plugins. The
process of initializing communication over WebRTC usually involves determining
ones public-facing IP adress using a STUN server,
negotiating a connection by sending "offers" and "answers" and creating
a connection based on so-called ICE
candidates. These define required metadata, IP address, port and media information
for exchanging data and can be replaced by a TURN server as
intermediary in case of browsers' non-agreement on a candidate.
Working On The Edge (...Network)
One of our current projects included setting up working
ERP5 clients on multiple remote locations in China without proper Internet
acccess. We managed to address this issue by "providing" the Internet
along with our application and optimizing ERP5 for use over Thuraya IP.
While this solved the challenge of connecting all locations to our main ERP5
instance, we still had to find a way to allow multiple users to collaborate on
individual locations. Since all locations had a working LAN, we eventually
settled on trying to use WebRTC.
Serverless WebRTC
A local network without web access meant we could not use a STUN server to find
clients and initiate WebRTC connections. We looked at available solutions for
exchanging WebRTC offers (using text messages
or QR Codes) but those were
not practical enough for our use case. At some point we also
played with browser extensions and especially the Chrome Http WebSocket Server.
Our eventual idea was trying to have one "master" user (the one also connected to the main
ERP5 instance over Thuraya) using a modified HTTP WebSocket Message Broadcaster
to exchange WebRTC initialization.

This Is How We Did It
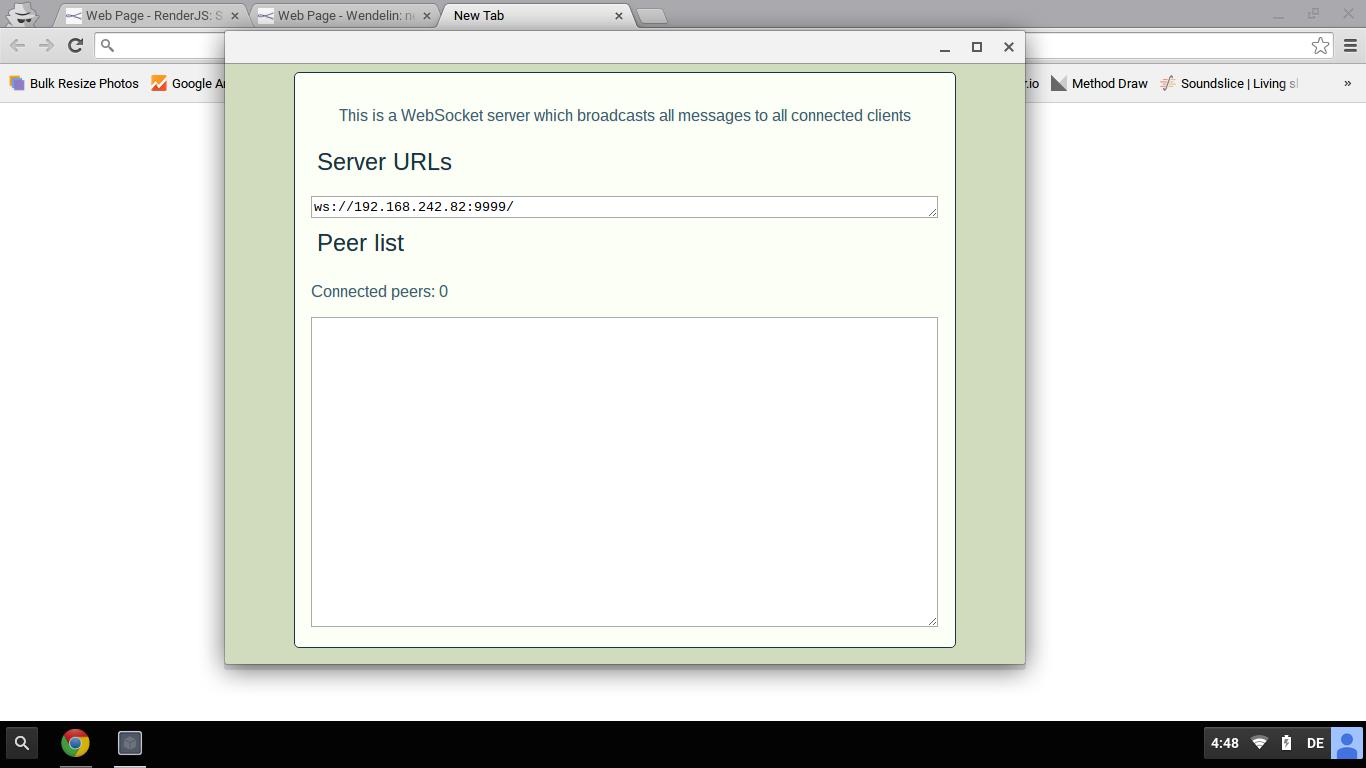
Once we had the WebSocket Message Broadcaster installed and running it would
return an unsecured, publicly accessible WebSocket Url under which it was reachable
over the LAN. The single manual step left was to enter this Url on all "slave"
nodes for initializing WebRTC connections. The Broadcaster would be waiting for
incoming slave requests upon which it would generate a WebRTC offer and broadcast
it along with a message indentifier to all slaves. The slave that triggered the
request could identify his response, digest the WebRTC offer and send back his
answer over WebSockets. This would disconnect the slave from the WebSocket
server and set up secure, encrypted communication over WebRTC. In this
implementation all slave nodes would then proceed to send
jIO queries via a defined JSON-scheme to the master over WebRTC. The master
node validates queries and can run them locally or on the remote ERP5 master
via Thuraya IP.
A WebRTC database
Our prototype implementation is working nicely with all clients being able to
work autonomously and communicating between their respective nodes over WebRTC.
With database requests and responses being between local slaves and master being
sent over WebRTC, Nexedi can probably also claim having created the first
"WebRTC database". Lastly, we also started to think about ways to use
this approach beyond a local LAN. Since IPv6 does not require STUN access for
NAT traversal,
the same approach over IPv6 would in theory work beyond a local network -
provided the WebSocket server IPv6 address was available. But this is for another day.

Try it Yourself
We wrote a small tutorial and example showing how all parts work together.
To do the tutorial you will need:
Side note: The tutorial is using our two JavaScript frameworks
RenderJS and
jIO. More on these in future blog posts
Here is what you have to do:
-
Install (or download and run) the Broadcaster. It will give you a WebSocket
url over which it can be reached.
-
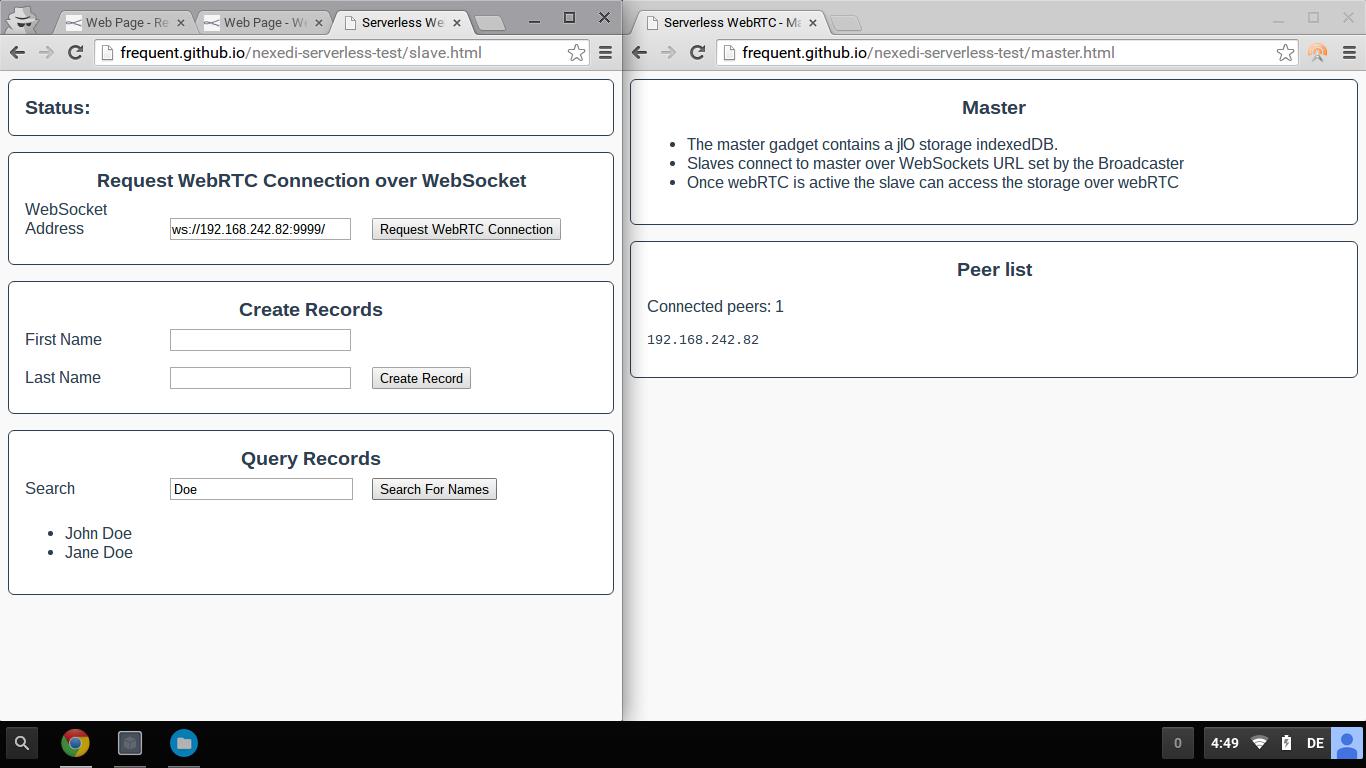
On the device/tab running the broadcaster, open "master.html". On another device on the same LAN/WIFI or another tab, open
"slave.html"
(Note the master will crash if the broadcaster is not running before).
Opening the master page will setup a jIO storage in indexedDB for storing names. We will use the slave to store and query names from the master over WebRTC.
-
On your slave page, enter the WebSocket address from the broadcaster. This
will initate the exchange of WebRTC offers over WebSocket. The status message
will inform you once a connection is set. Your master node should then also
display the peer connected over WebRTC.
-
Create some sample records. Note that records will be posted to the
master over WebRTC and stored in indexedDB. Check indexedDB contents on the
Developer Tool's Source Tab. Your records should be there.
-
Finally, try to query records. Queries will be sent over WebRTC to the master
which runs the query on indexedDB and returns the answer over WebRTC again.
-
You can see over the network tab that no requests are being triggered. You can
go one step further and switch of Wifi. The application should still work
properly.
Summary
We showed you how to setup WebRTC without a server on a LAN network using
Chromes Websocket browser extension to exchange WebRTC offer and answers. You
also got a glimpse of our two JavaScript frameworks RenderJS
and
jIO which we are using to create most of our client-side infrastructure. If
you want to find out more about these, check back on this blog. We are currently
rewriting the websites of both and once they are up and running, we will let
you know here.